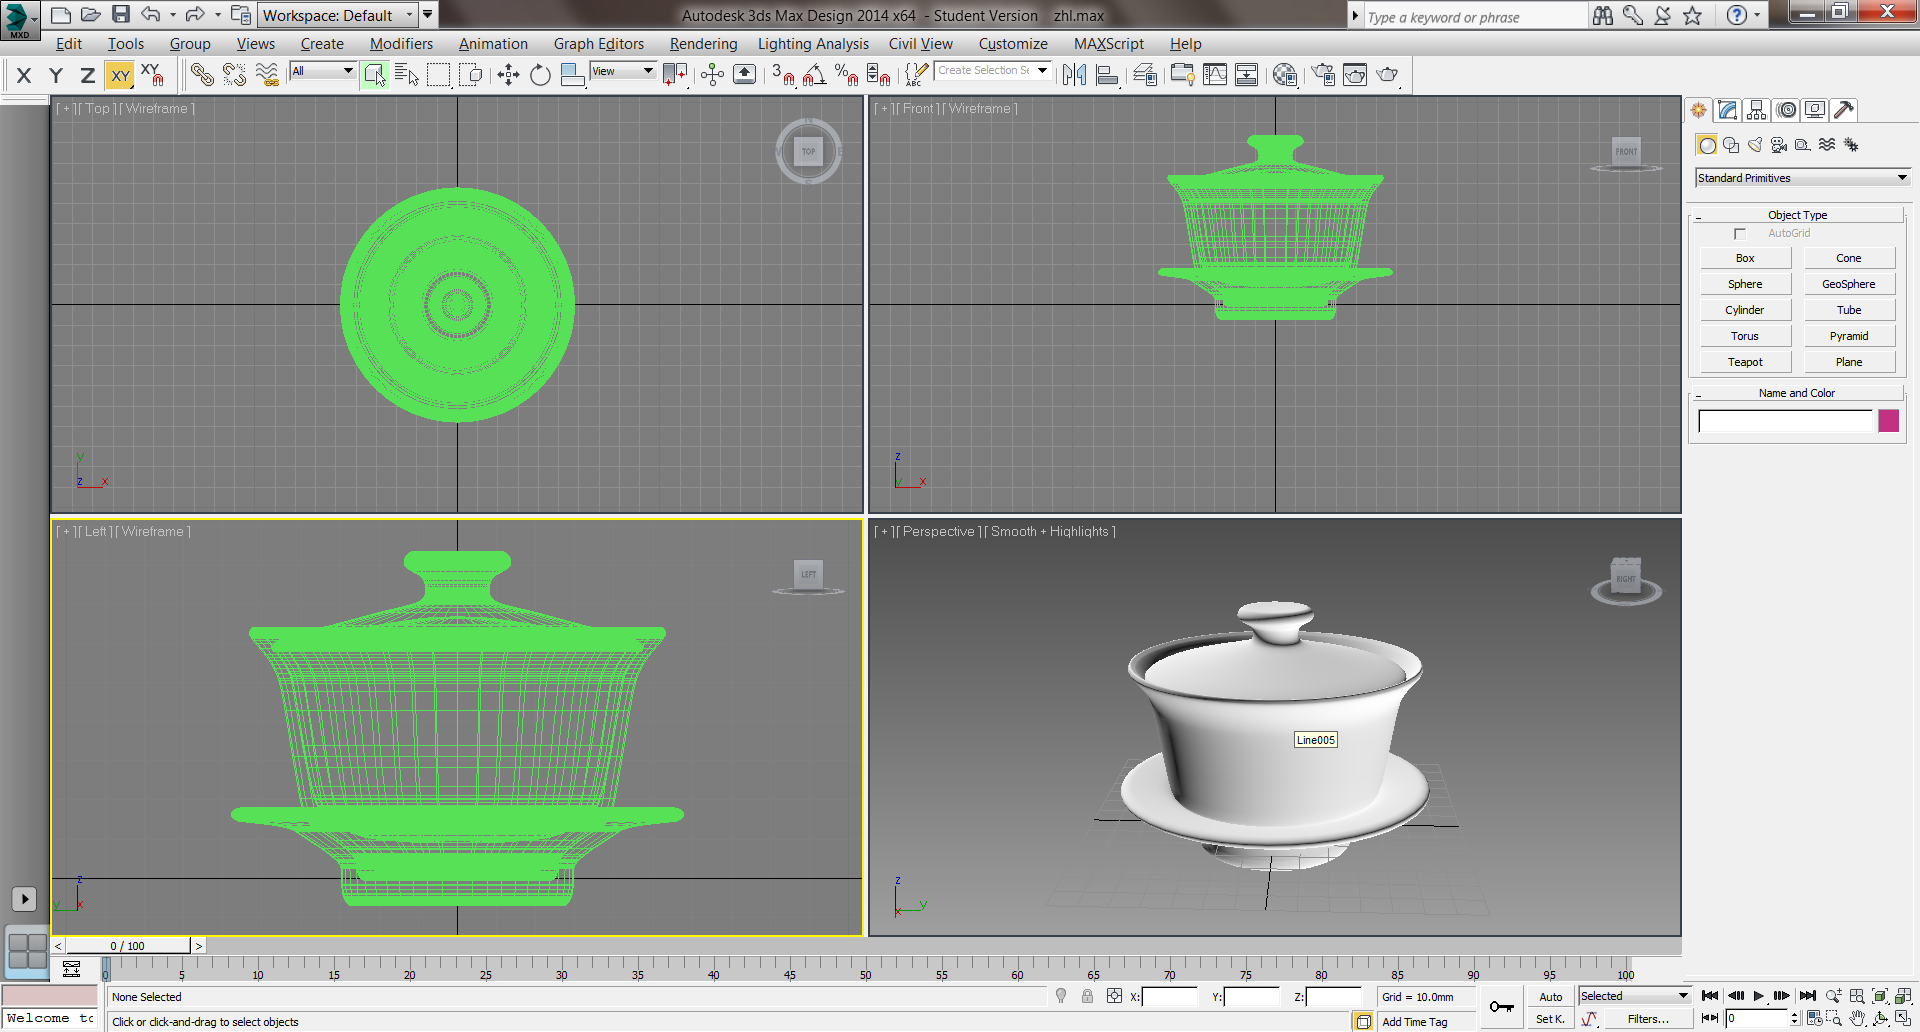
I have recently started working on the Gaiwan project. Having designed it in Autodesk 3D Studio Max Design (free for students), I prepared the profiles in Adobe Illustrator and laser-cut them from 6mm acrylic.

This is probably the moment to remark upon the greatness of the Institute of Making at UCL. From the 3D printers that are available for free (to feature in another project), to the amazing staff and technicians without whom I wouldn’t be able to make half the stuff I have, to the laser cutters and pottery wheel and bandsaw, there is little one could miss when working on a material project. One big thank you goes to Zach, who helped me get my head around the project, showed me how to most of what I did, and with whom we shared frustrations and happiness, depending on whether the pot was currently ‘fucking’ or ‘nice’.
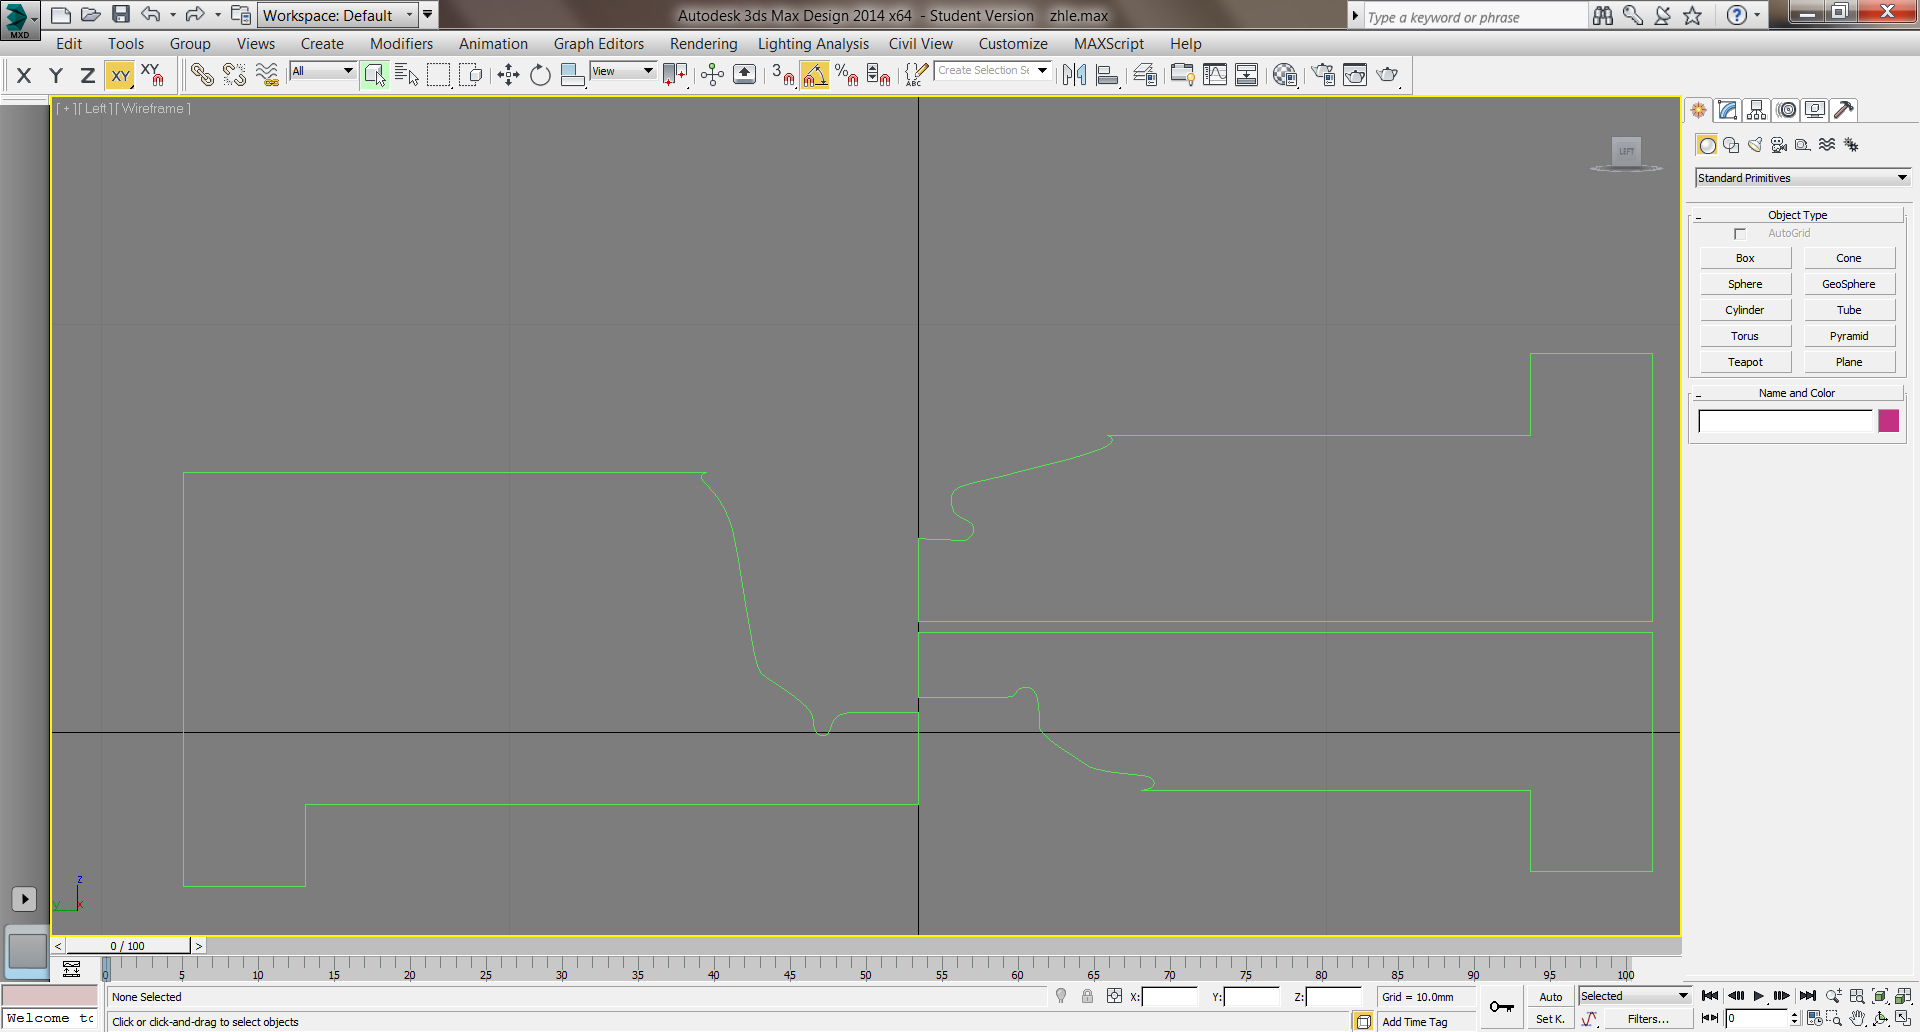
After cutting the perspex profile, I affixed two wooden blocks to the cutout using two-part glue to keep it level when turning the plaster. You will notice that there is an extra bit following from the lip of the lid, as well as an unexplained protrusion on the left. This is to create some manipulation space when making the mould – if the edge breaks or crumbles, it’s not a major problem. The protruding bit keeps the cutout from going further than the centre on the pottery wheel. Both of these features were added after initial tests proved the unreliability of the original cutouts.

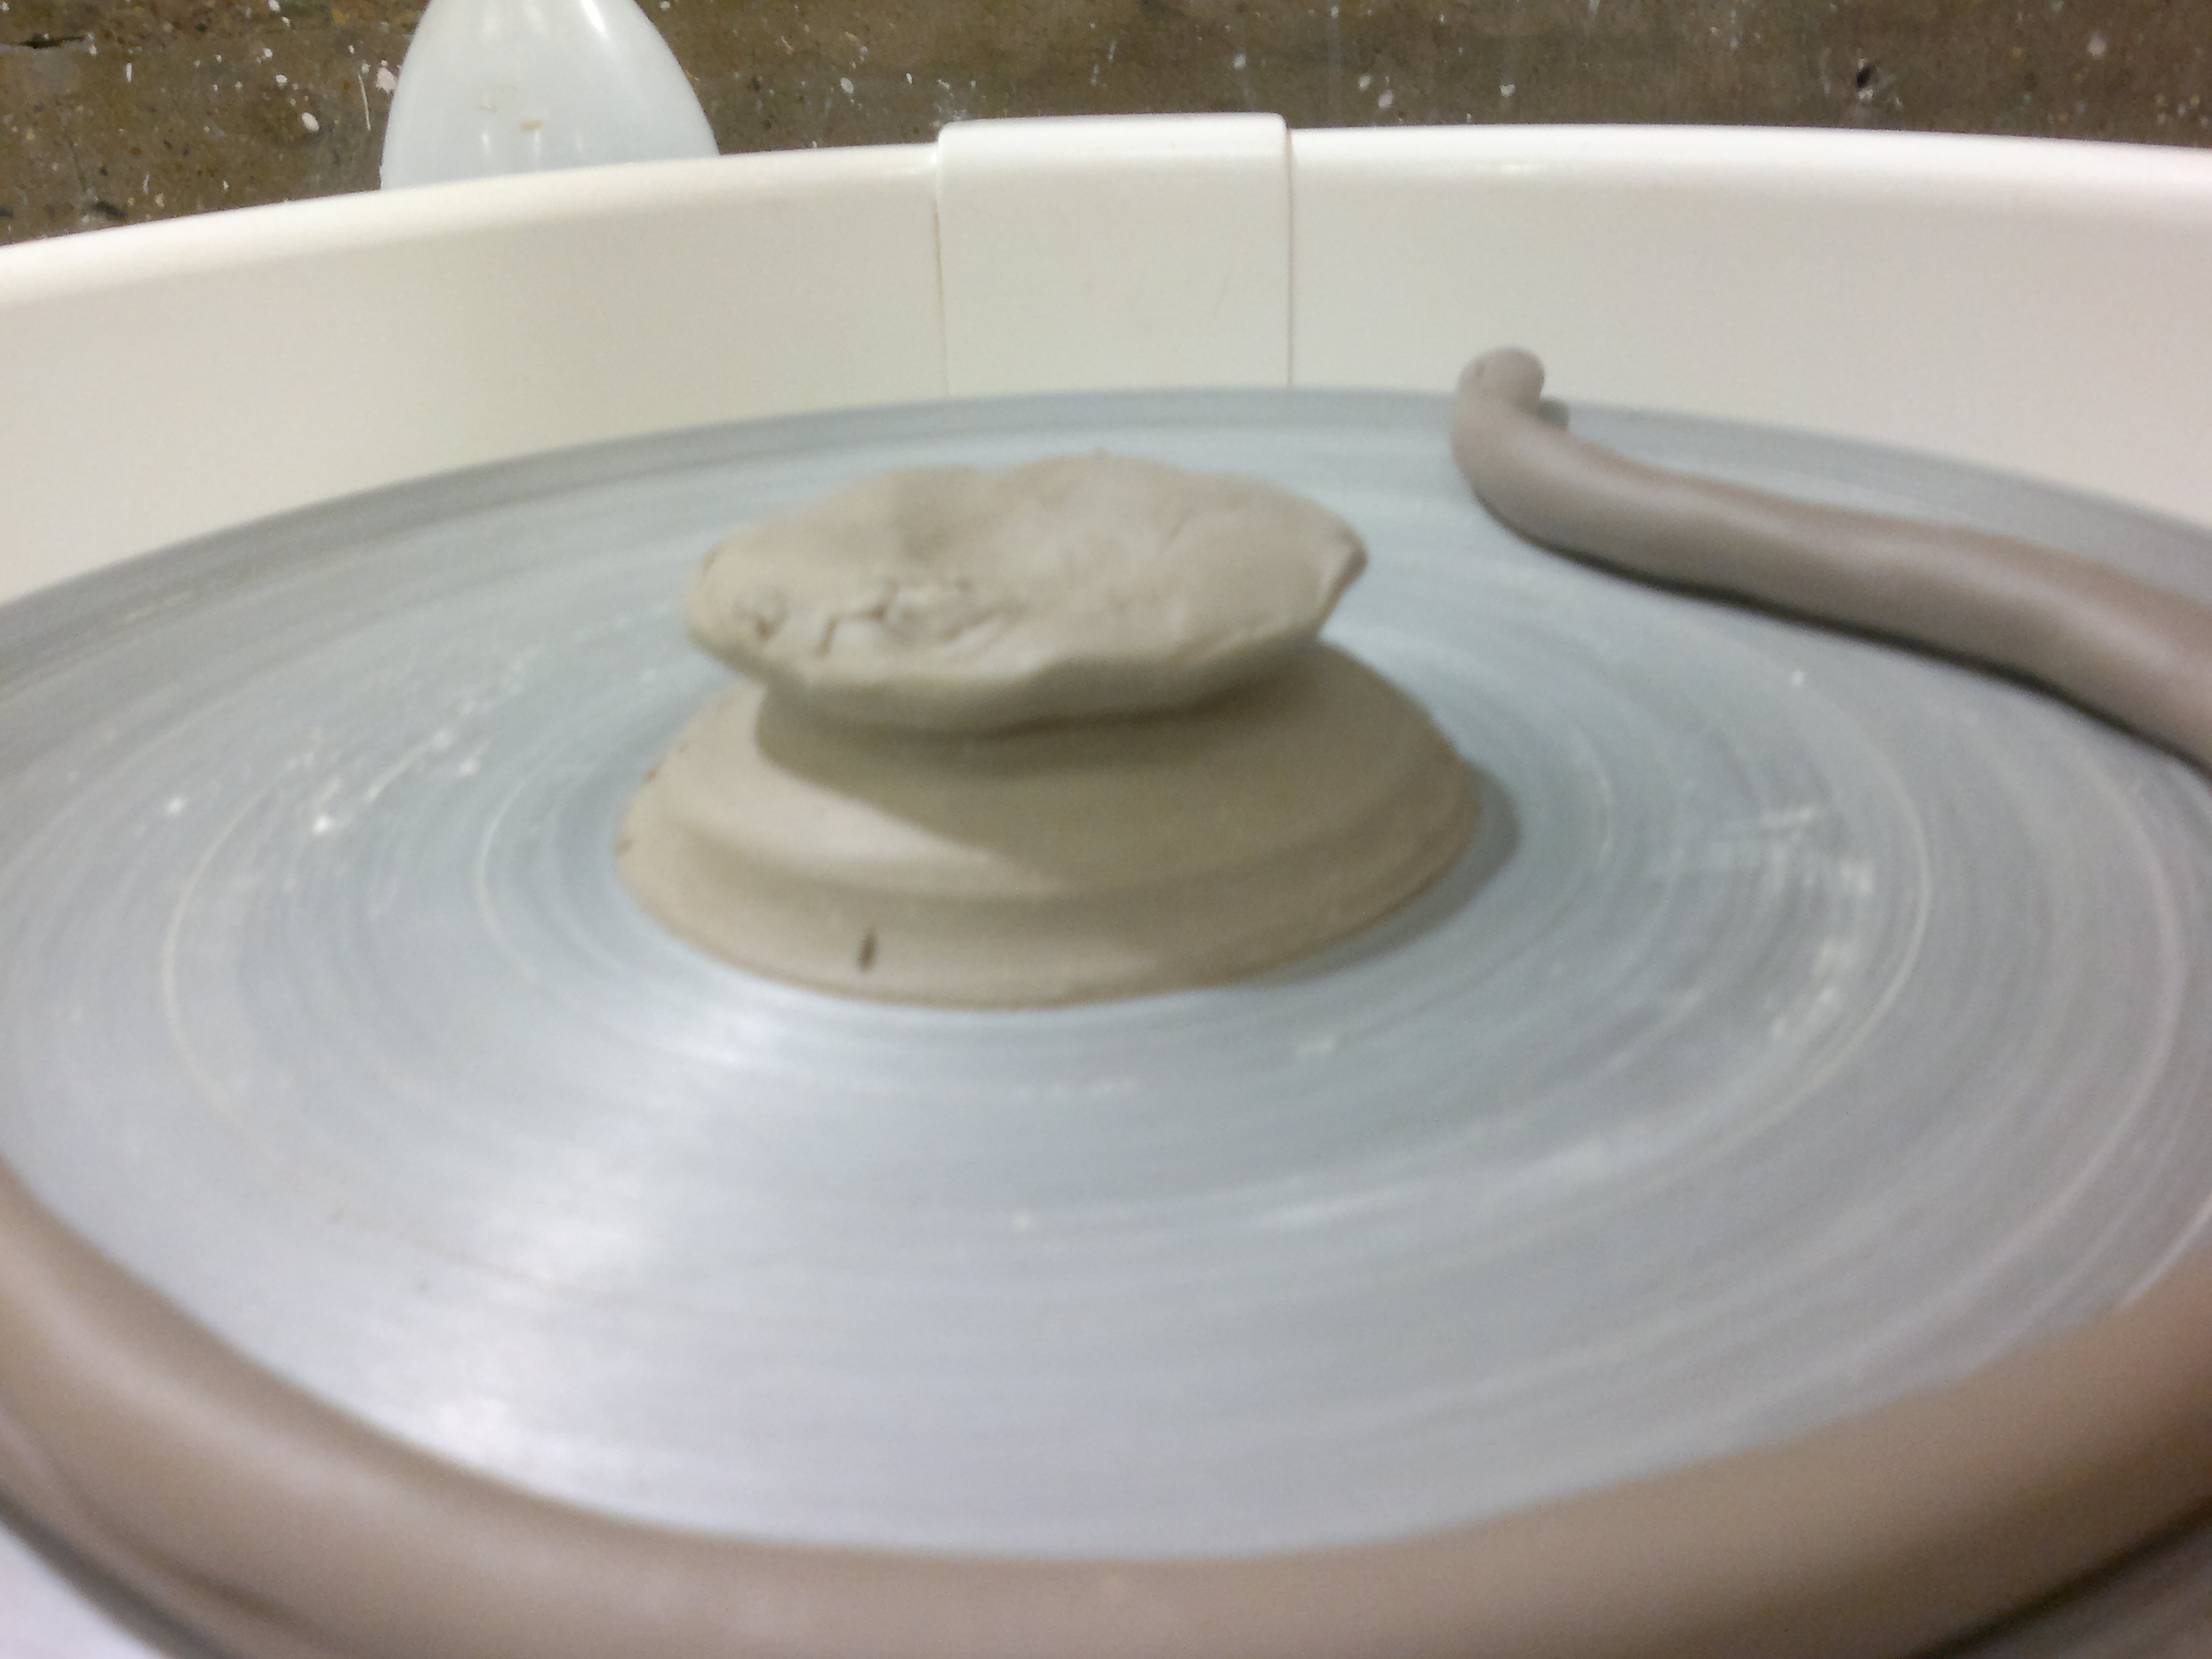
Then came the interesting part. You need to cast the plaster from which you will turn the shape. To do this, you first need to place a blob of clay on the wheel to help the plaster stick. I find it most useful to make it into a hourglass shape – there is a large contact area with the wheel, and if done right the inner rim makes it easier to pull out the model from a single-piece pop-out mould.
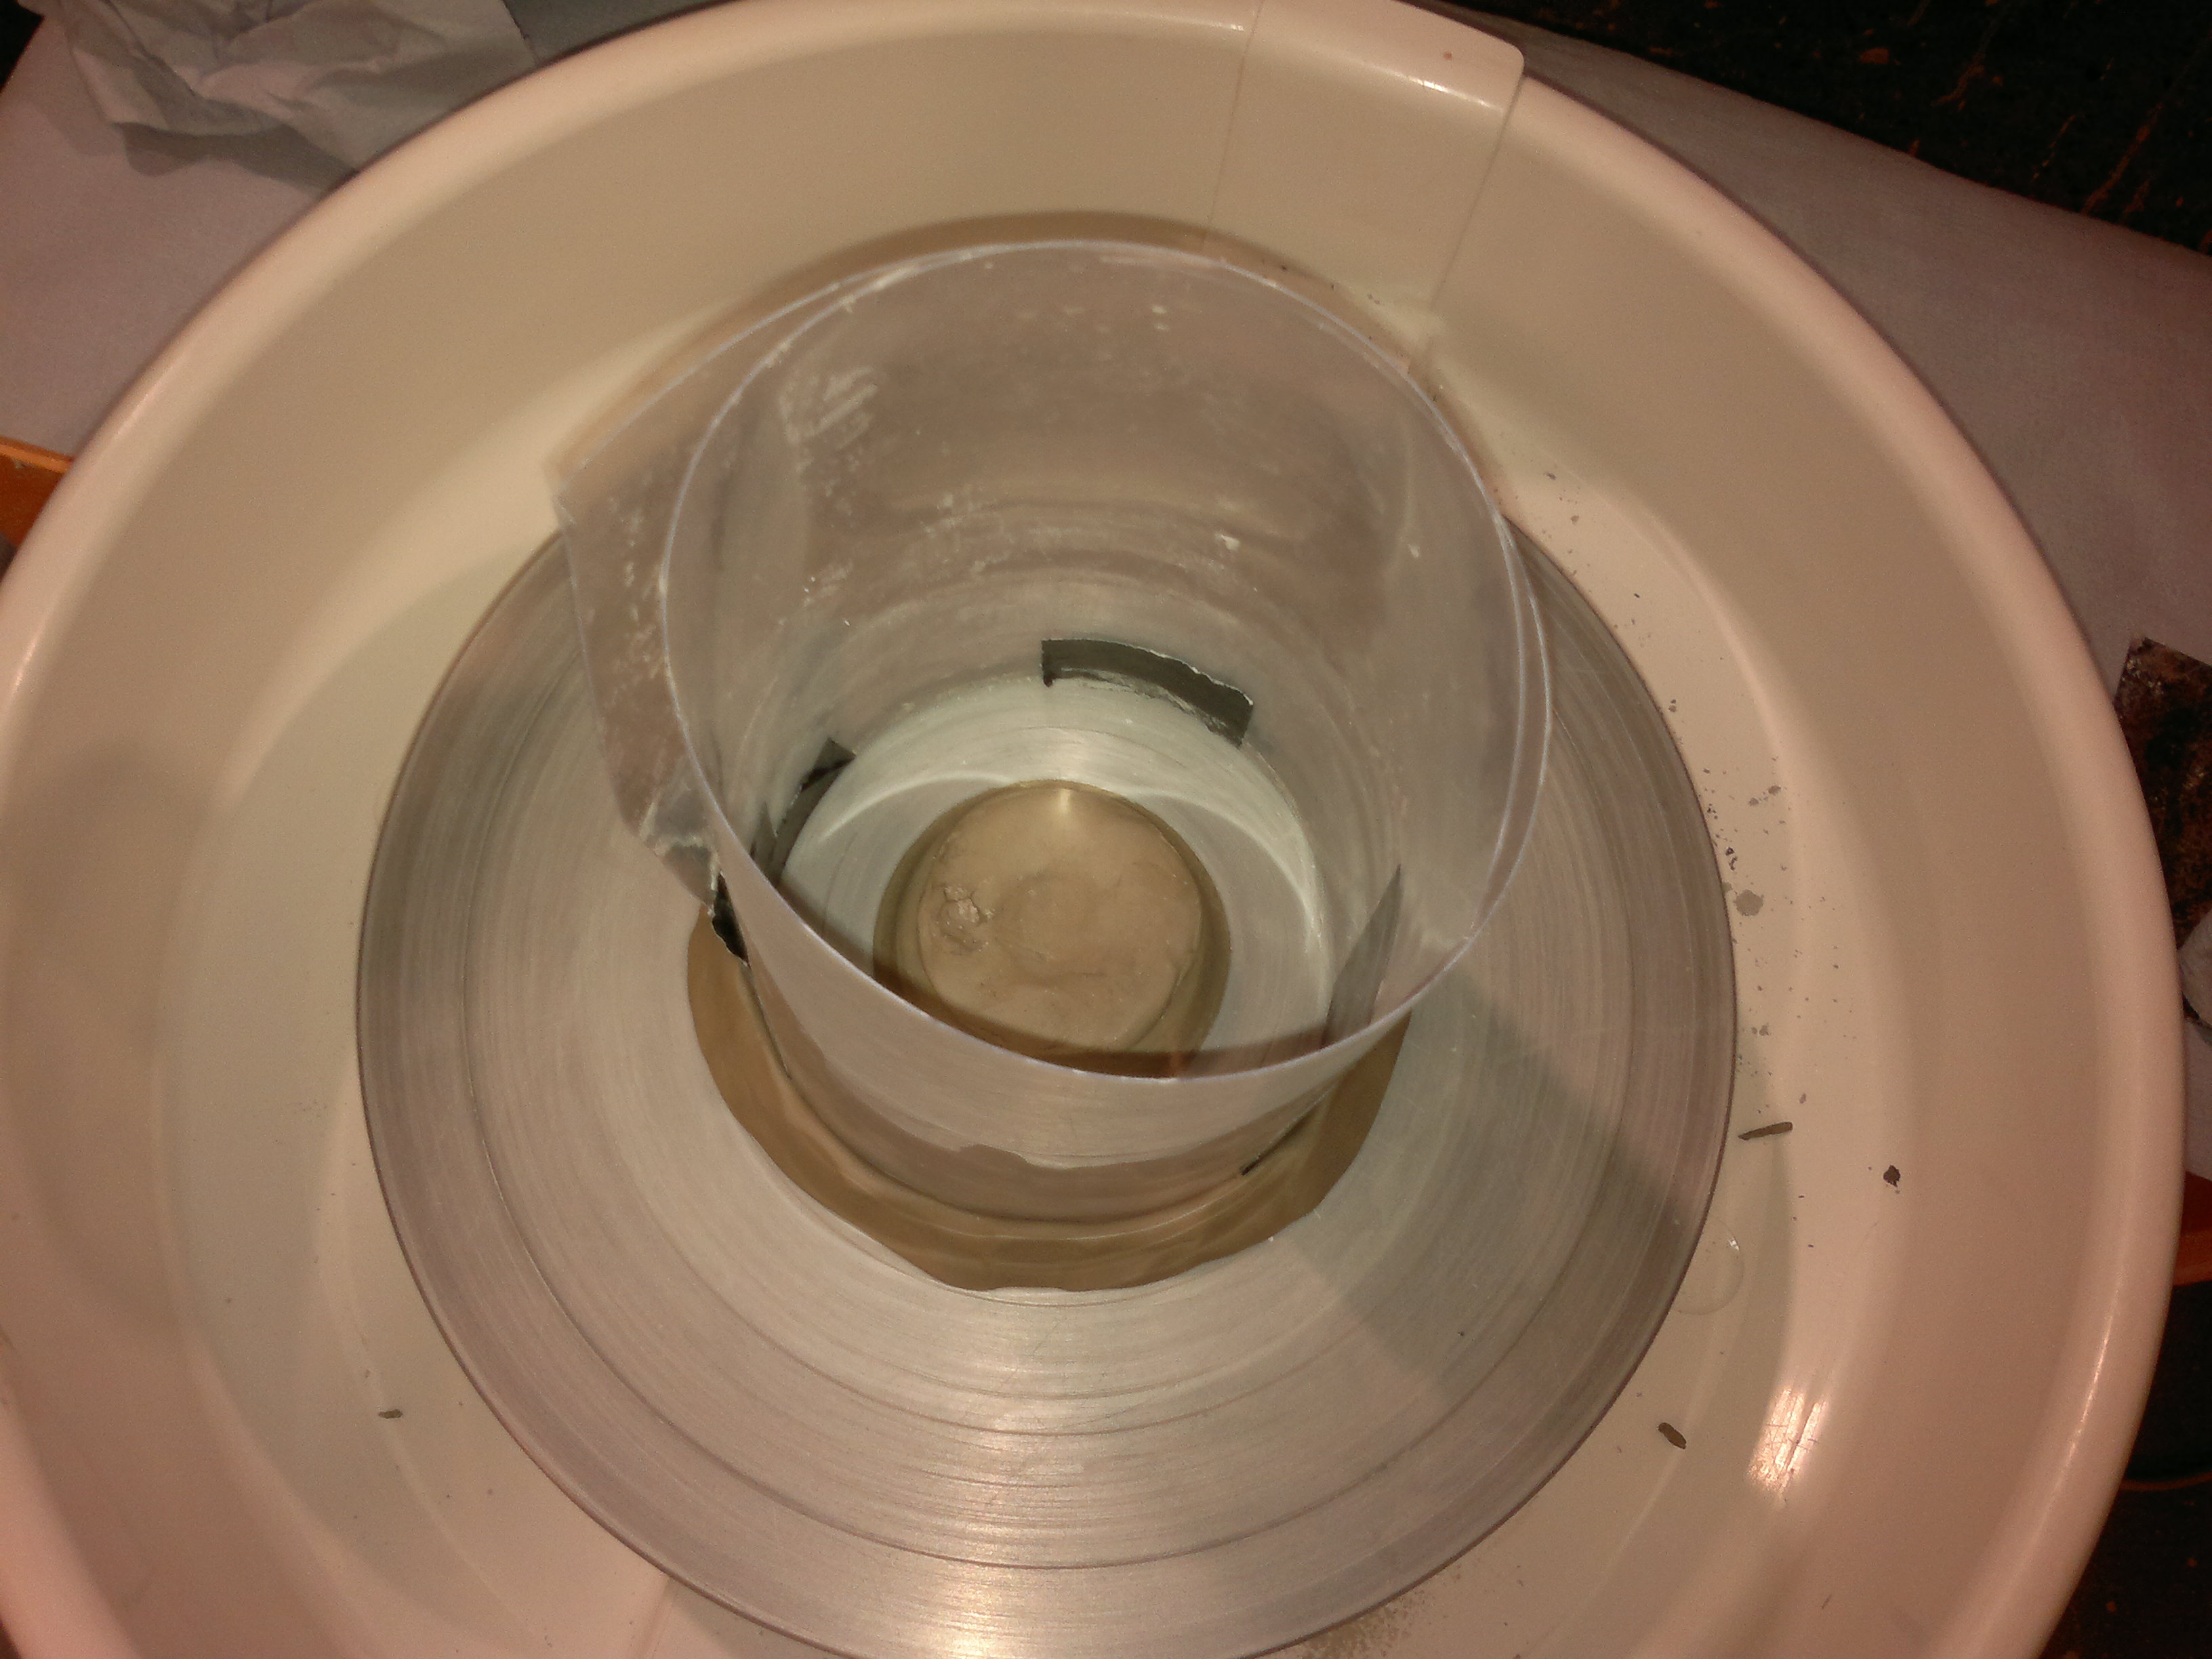
Then I affixed a plastic tube (really a sheet of plastic taped together) to the wheel using clay to create the cylinder shape for the source plaster.

You pour in the plaster, and when it has the consistency of Philadelphia cheese, you take off the mould and get going quickly – because otherwise your plaster hardens and you will not go to space today.
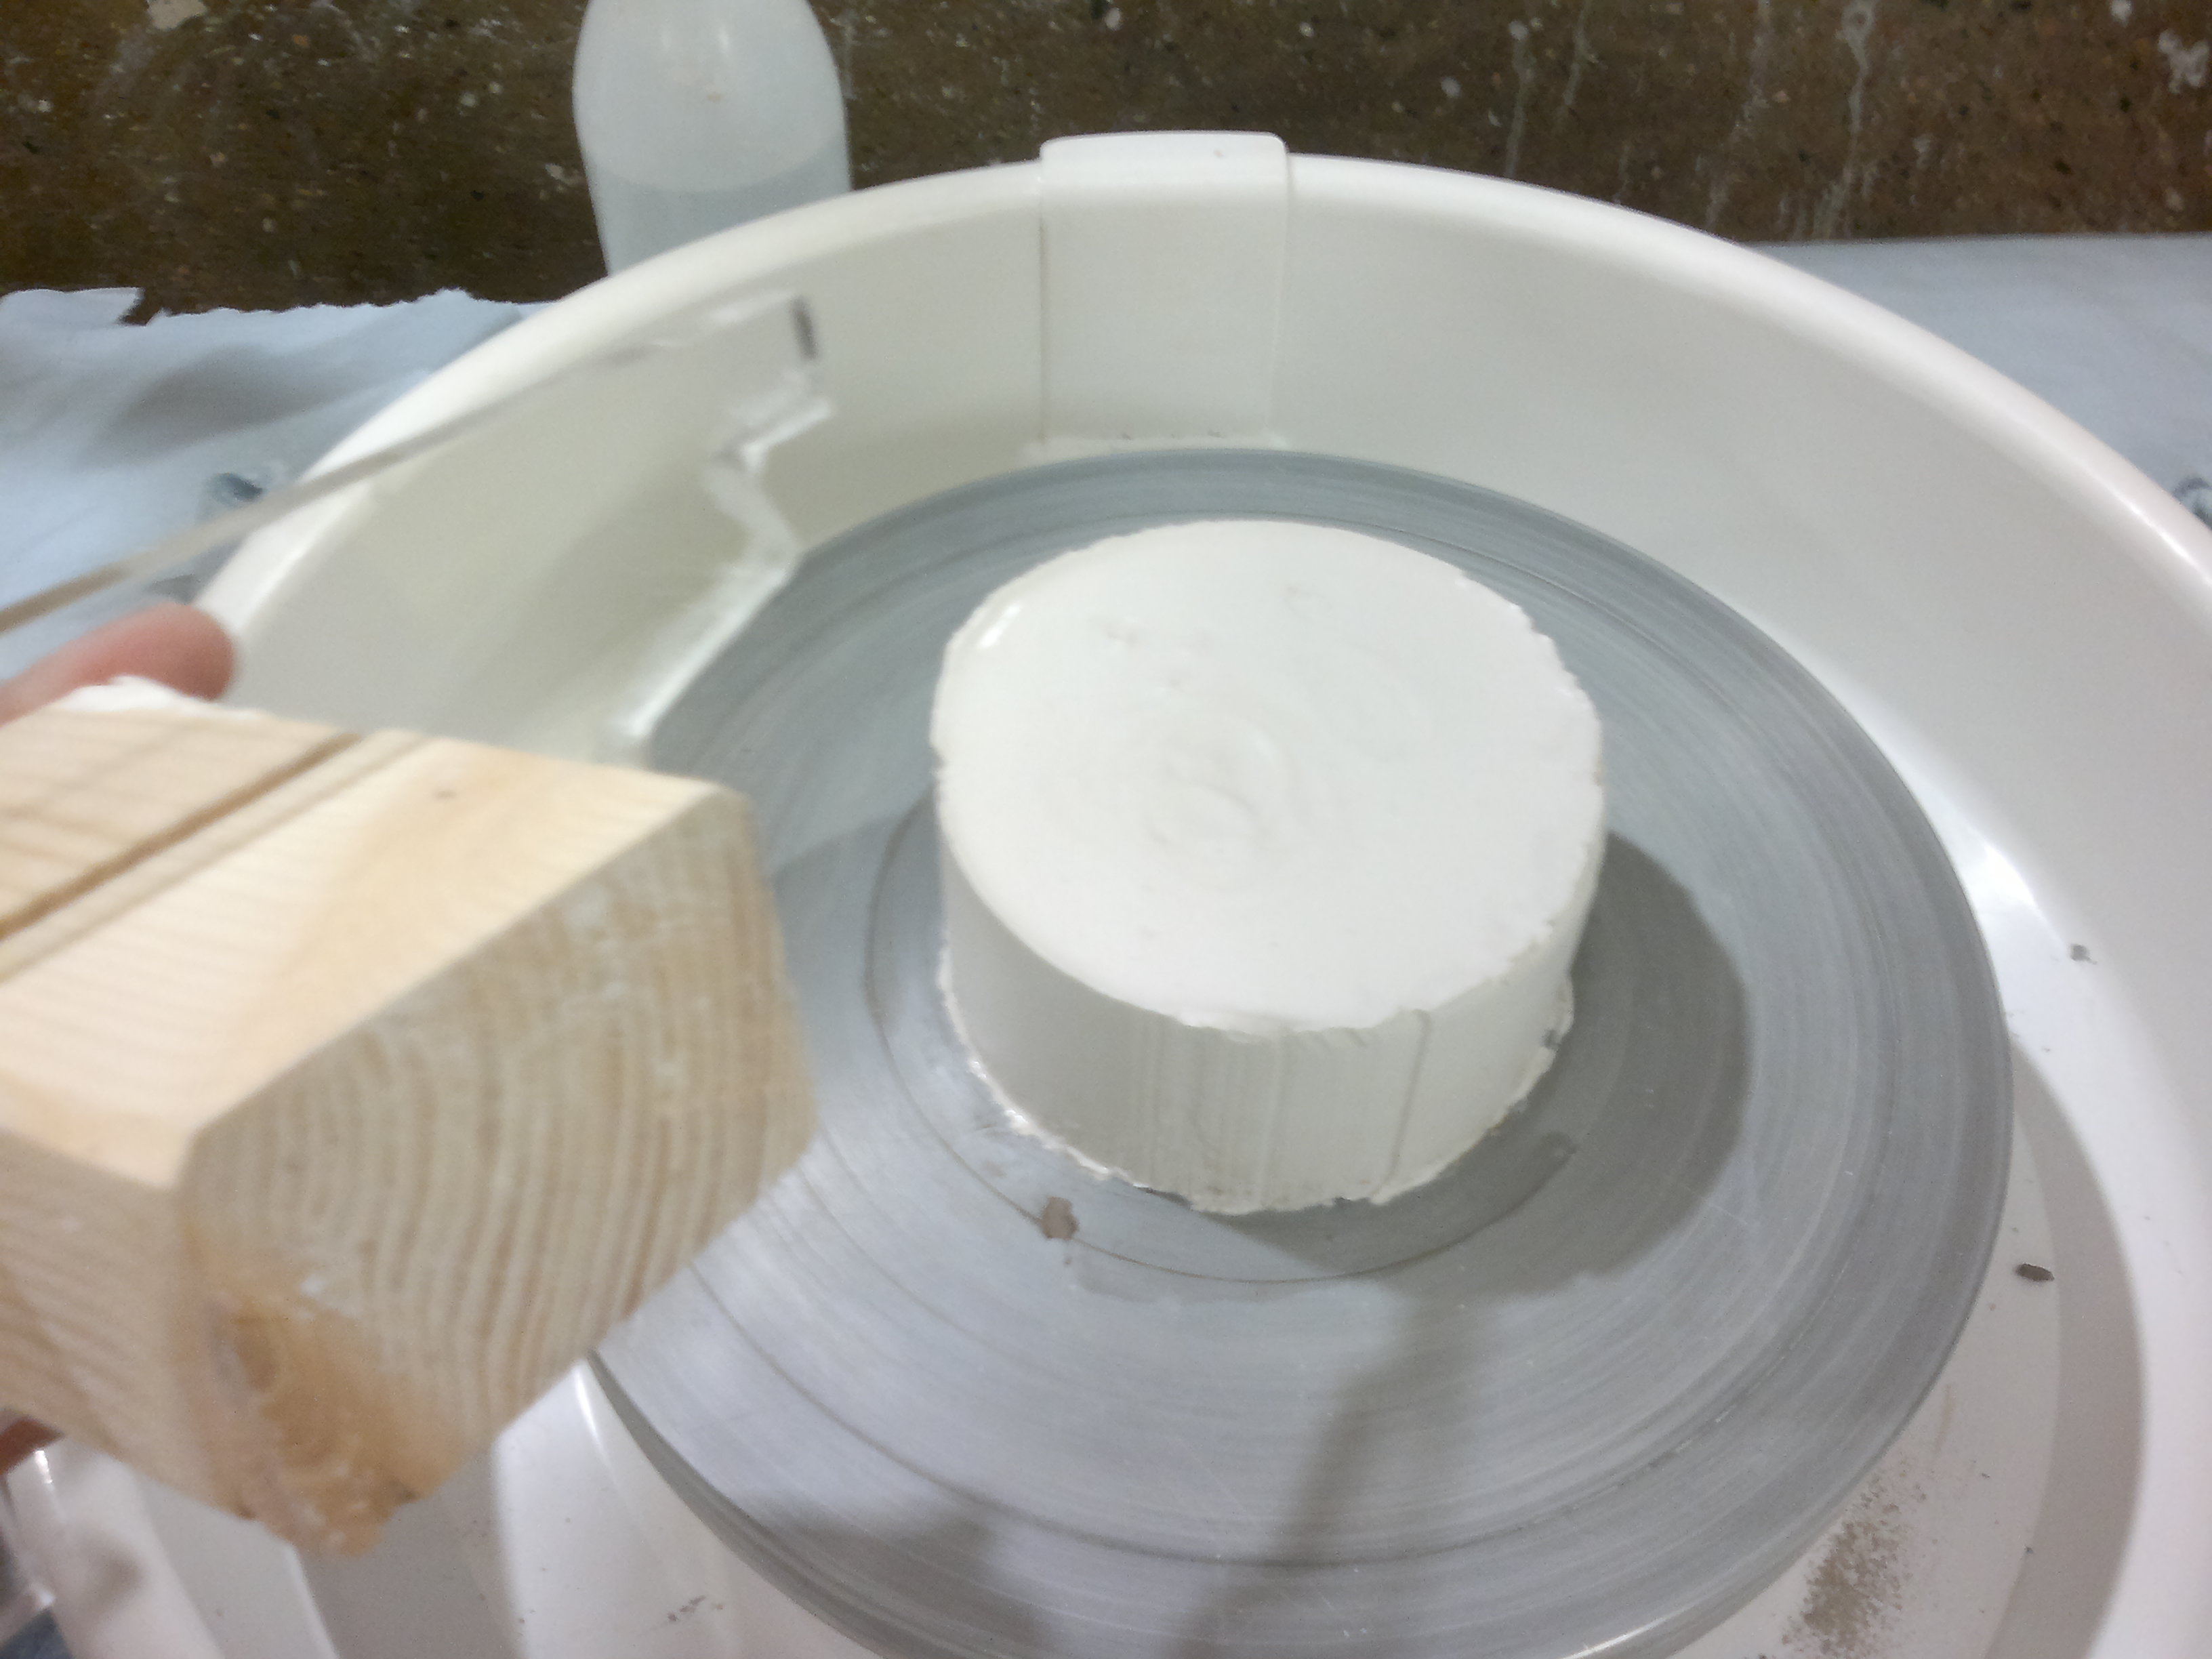
The next part is the hard, menial, and at times frustrating one. Luckily, this particular profile cutout was the result of several experiments that failed at least to some degree, and it all went smoothly. The usual problems that didn’t happen this time are that any bits protruding on the top just get wiped off by the cutout or dried plaster clinging to it. Generally, a lot of water sprayed on top of it all helps.

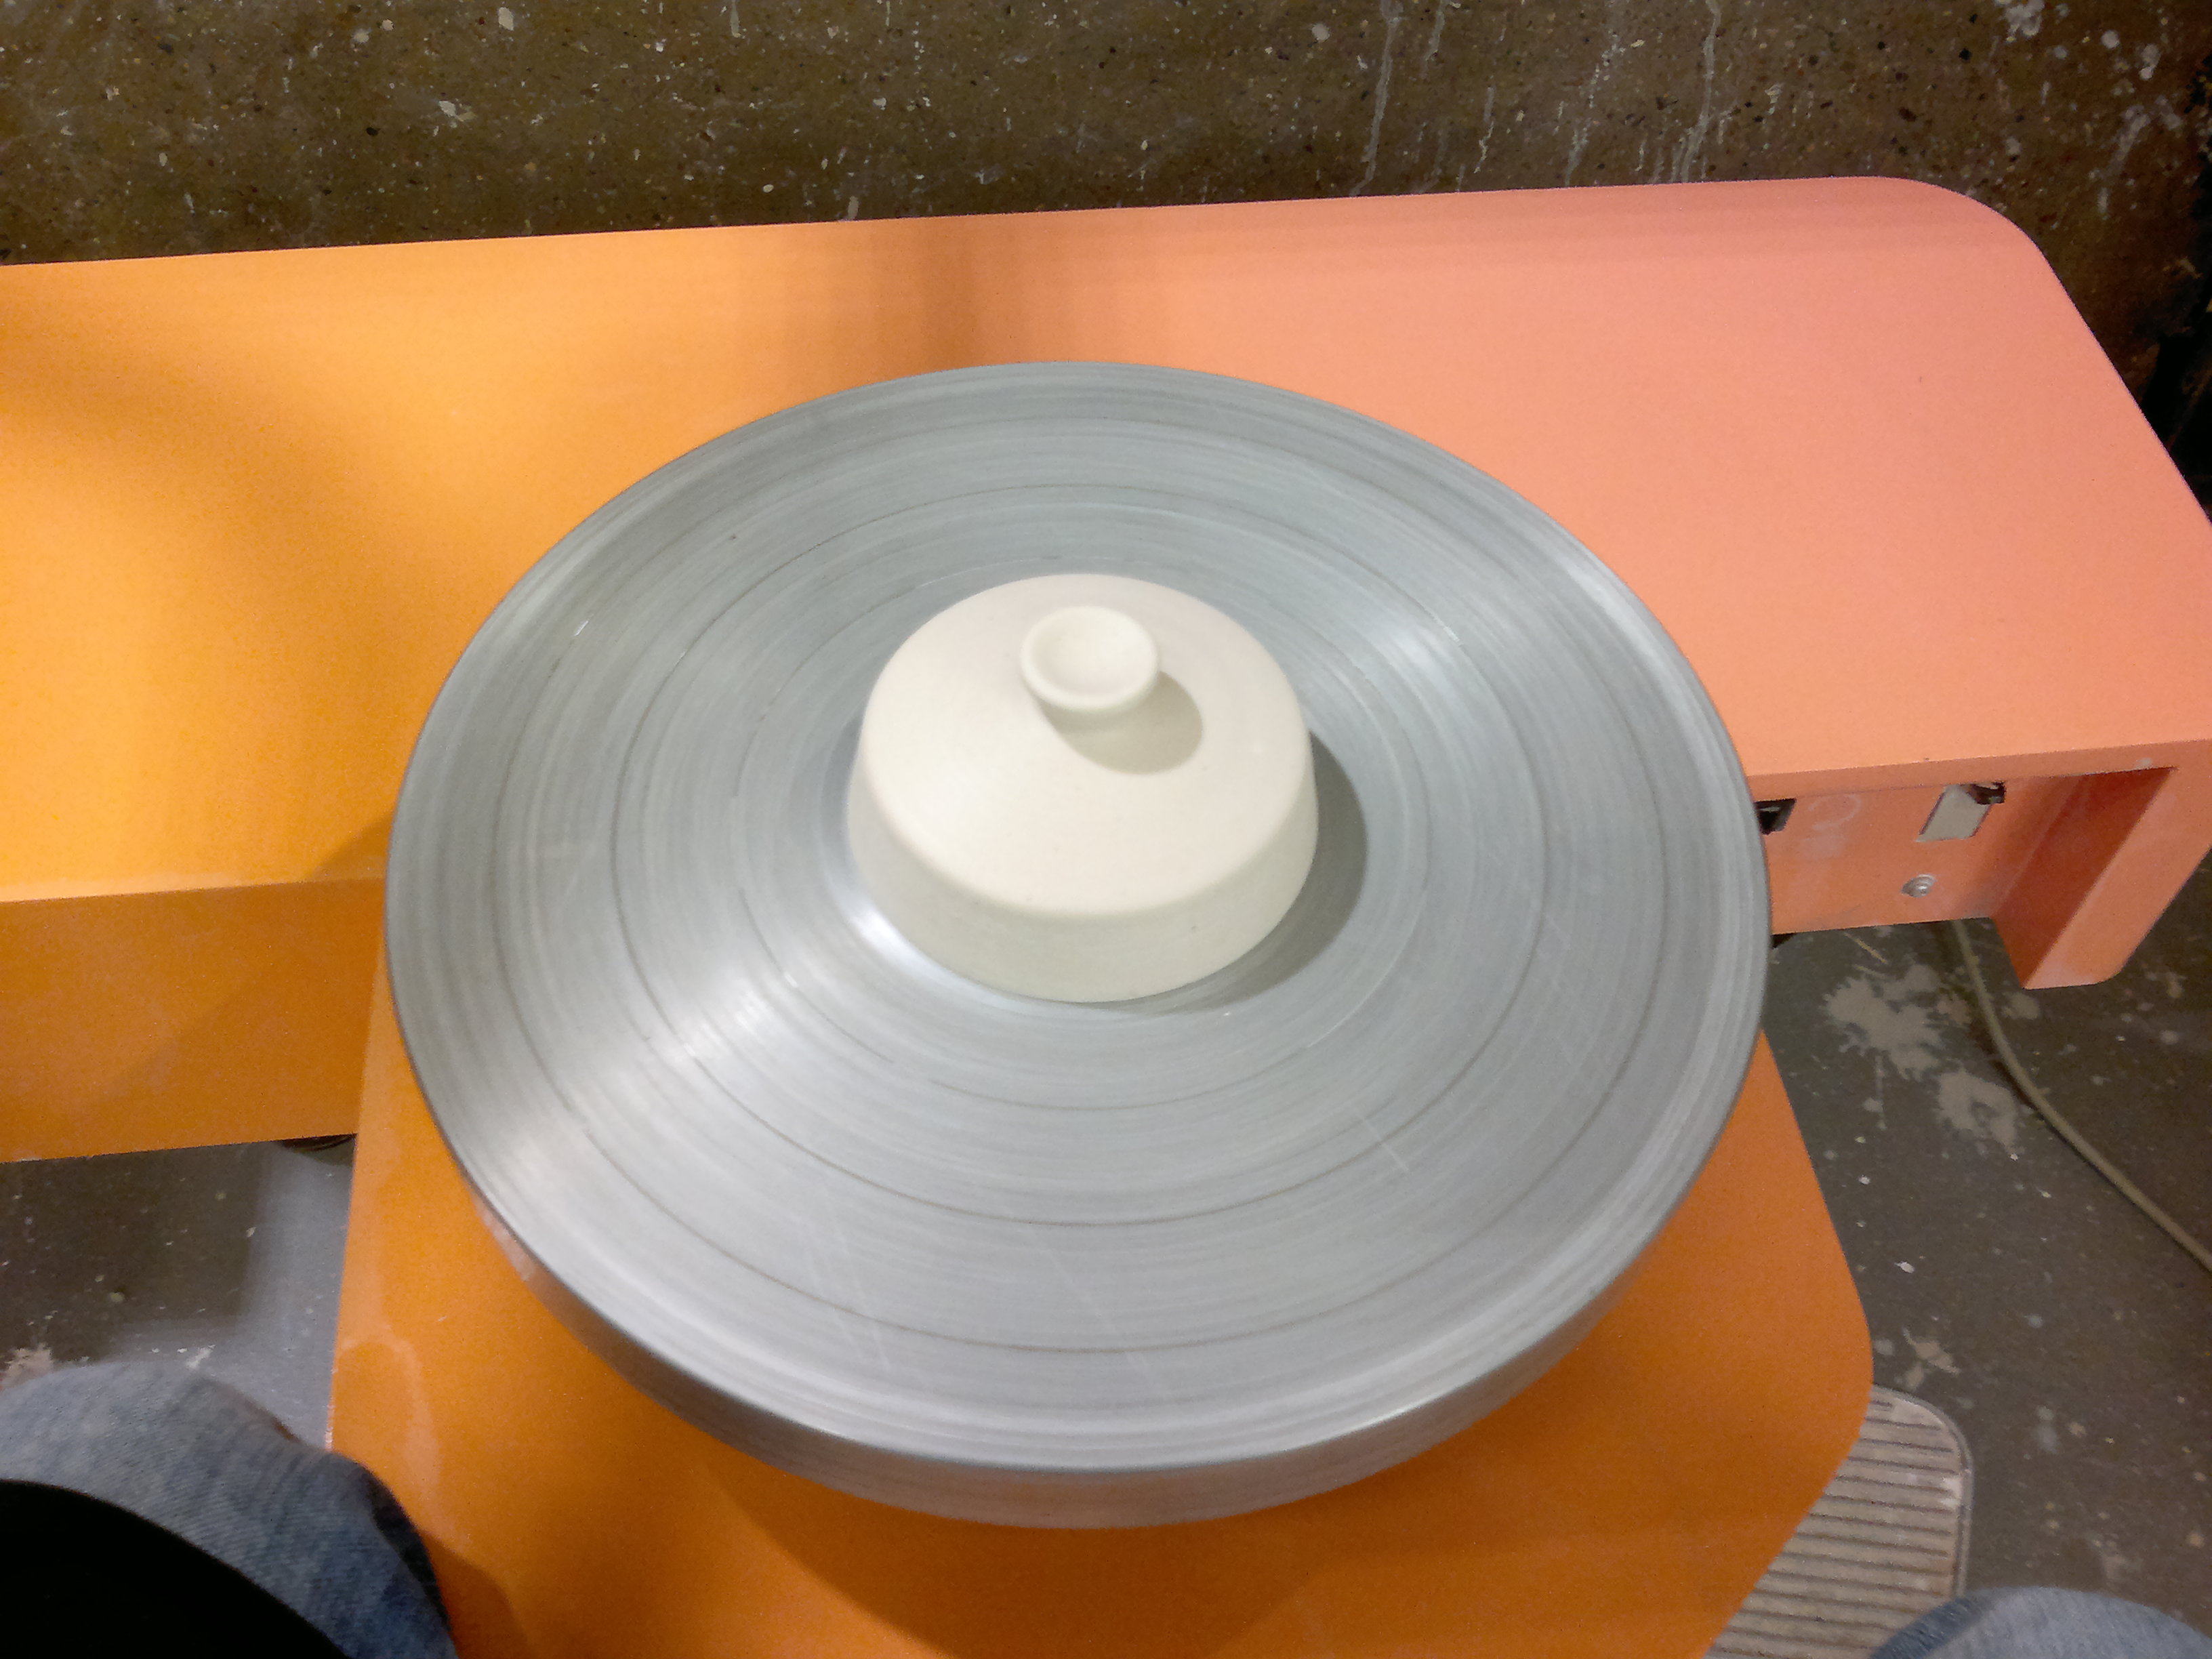
This is the cleaned-up plaster positive, after a bit of treatment with the metal square you can see in the previous picture.

This is another fun but dangerous part – because cutouts are horrible at making indentations on the top centre, I needed to chisel the indentation for the thumb on the top of the lid. This is also the method used for the foot of the pot itself. Here you can see the chiselled lid positive being cleaned up using 320 grit sandpaper. Anything coarser tends to reveal any unevenness in the plaster texture, and anything finer just smears the plaster without removing any material.

The finished positive before cleaning up.

The last step in the making of the lid positive is taking it off the wheel after cleanup. If the plaster sticks, you can use a rubber hammer to loosen it, and then you just wiggle the model in a circular fashion to loosen up the clay.
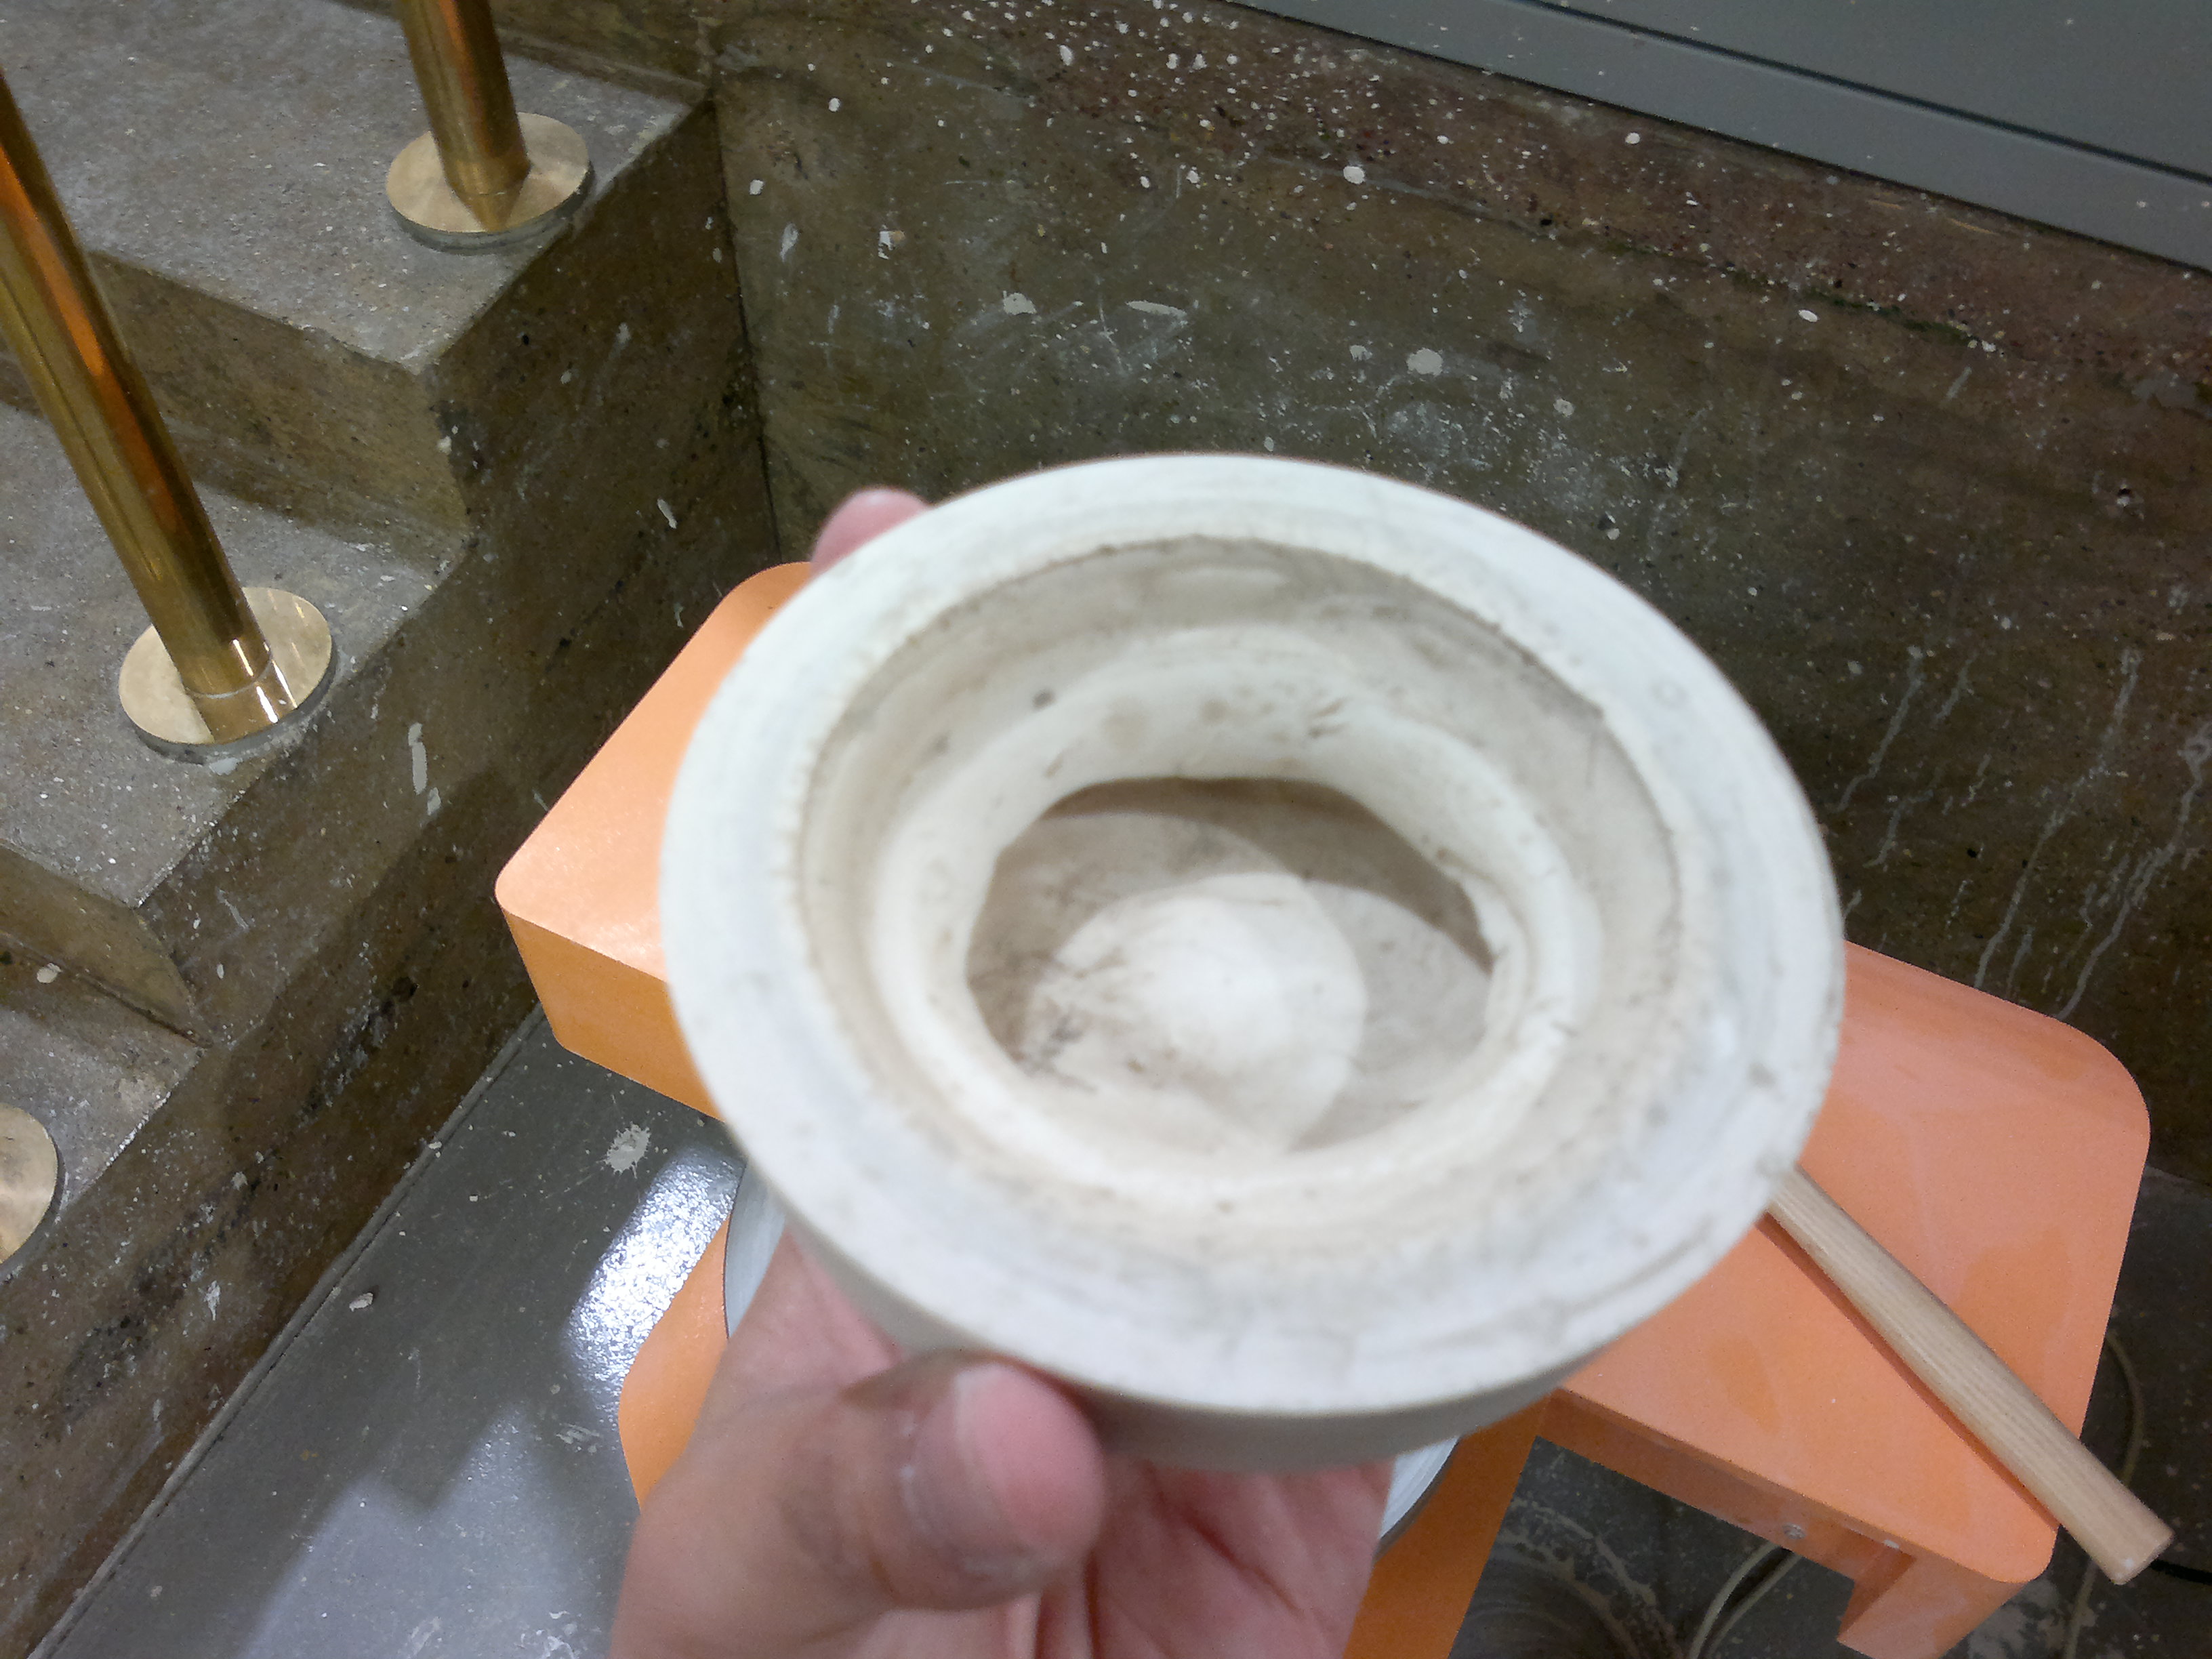
Even when making a single-piece mould is impossible, I consider creating a grip on the inside of the model good practice, as it gives you a way to hold it without touching the outside – like when sanding. The foot of the removed model, thanks to the shape of the clay base, is the following picture.
The finished product:

Stay tuned for the next part about making the plaster mould from the positive model!