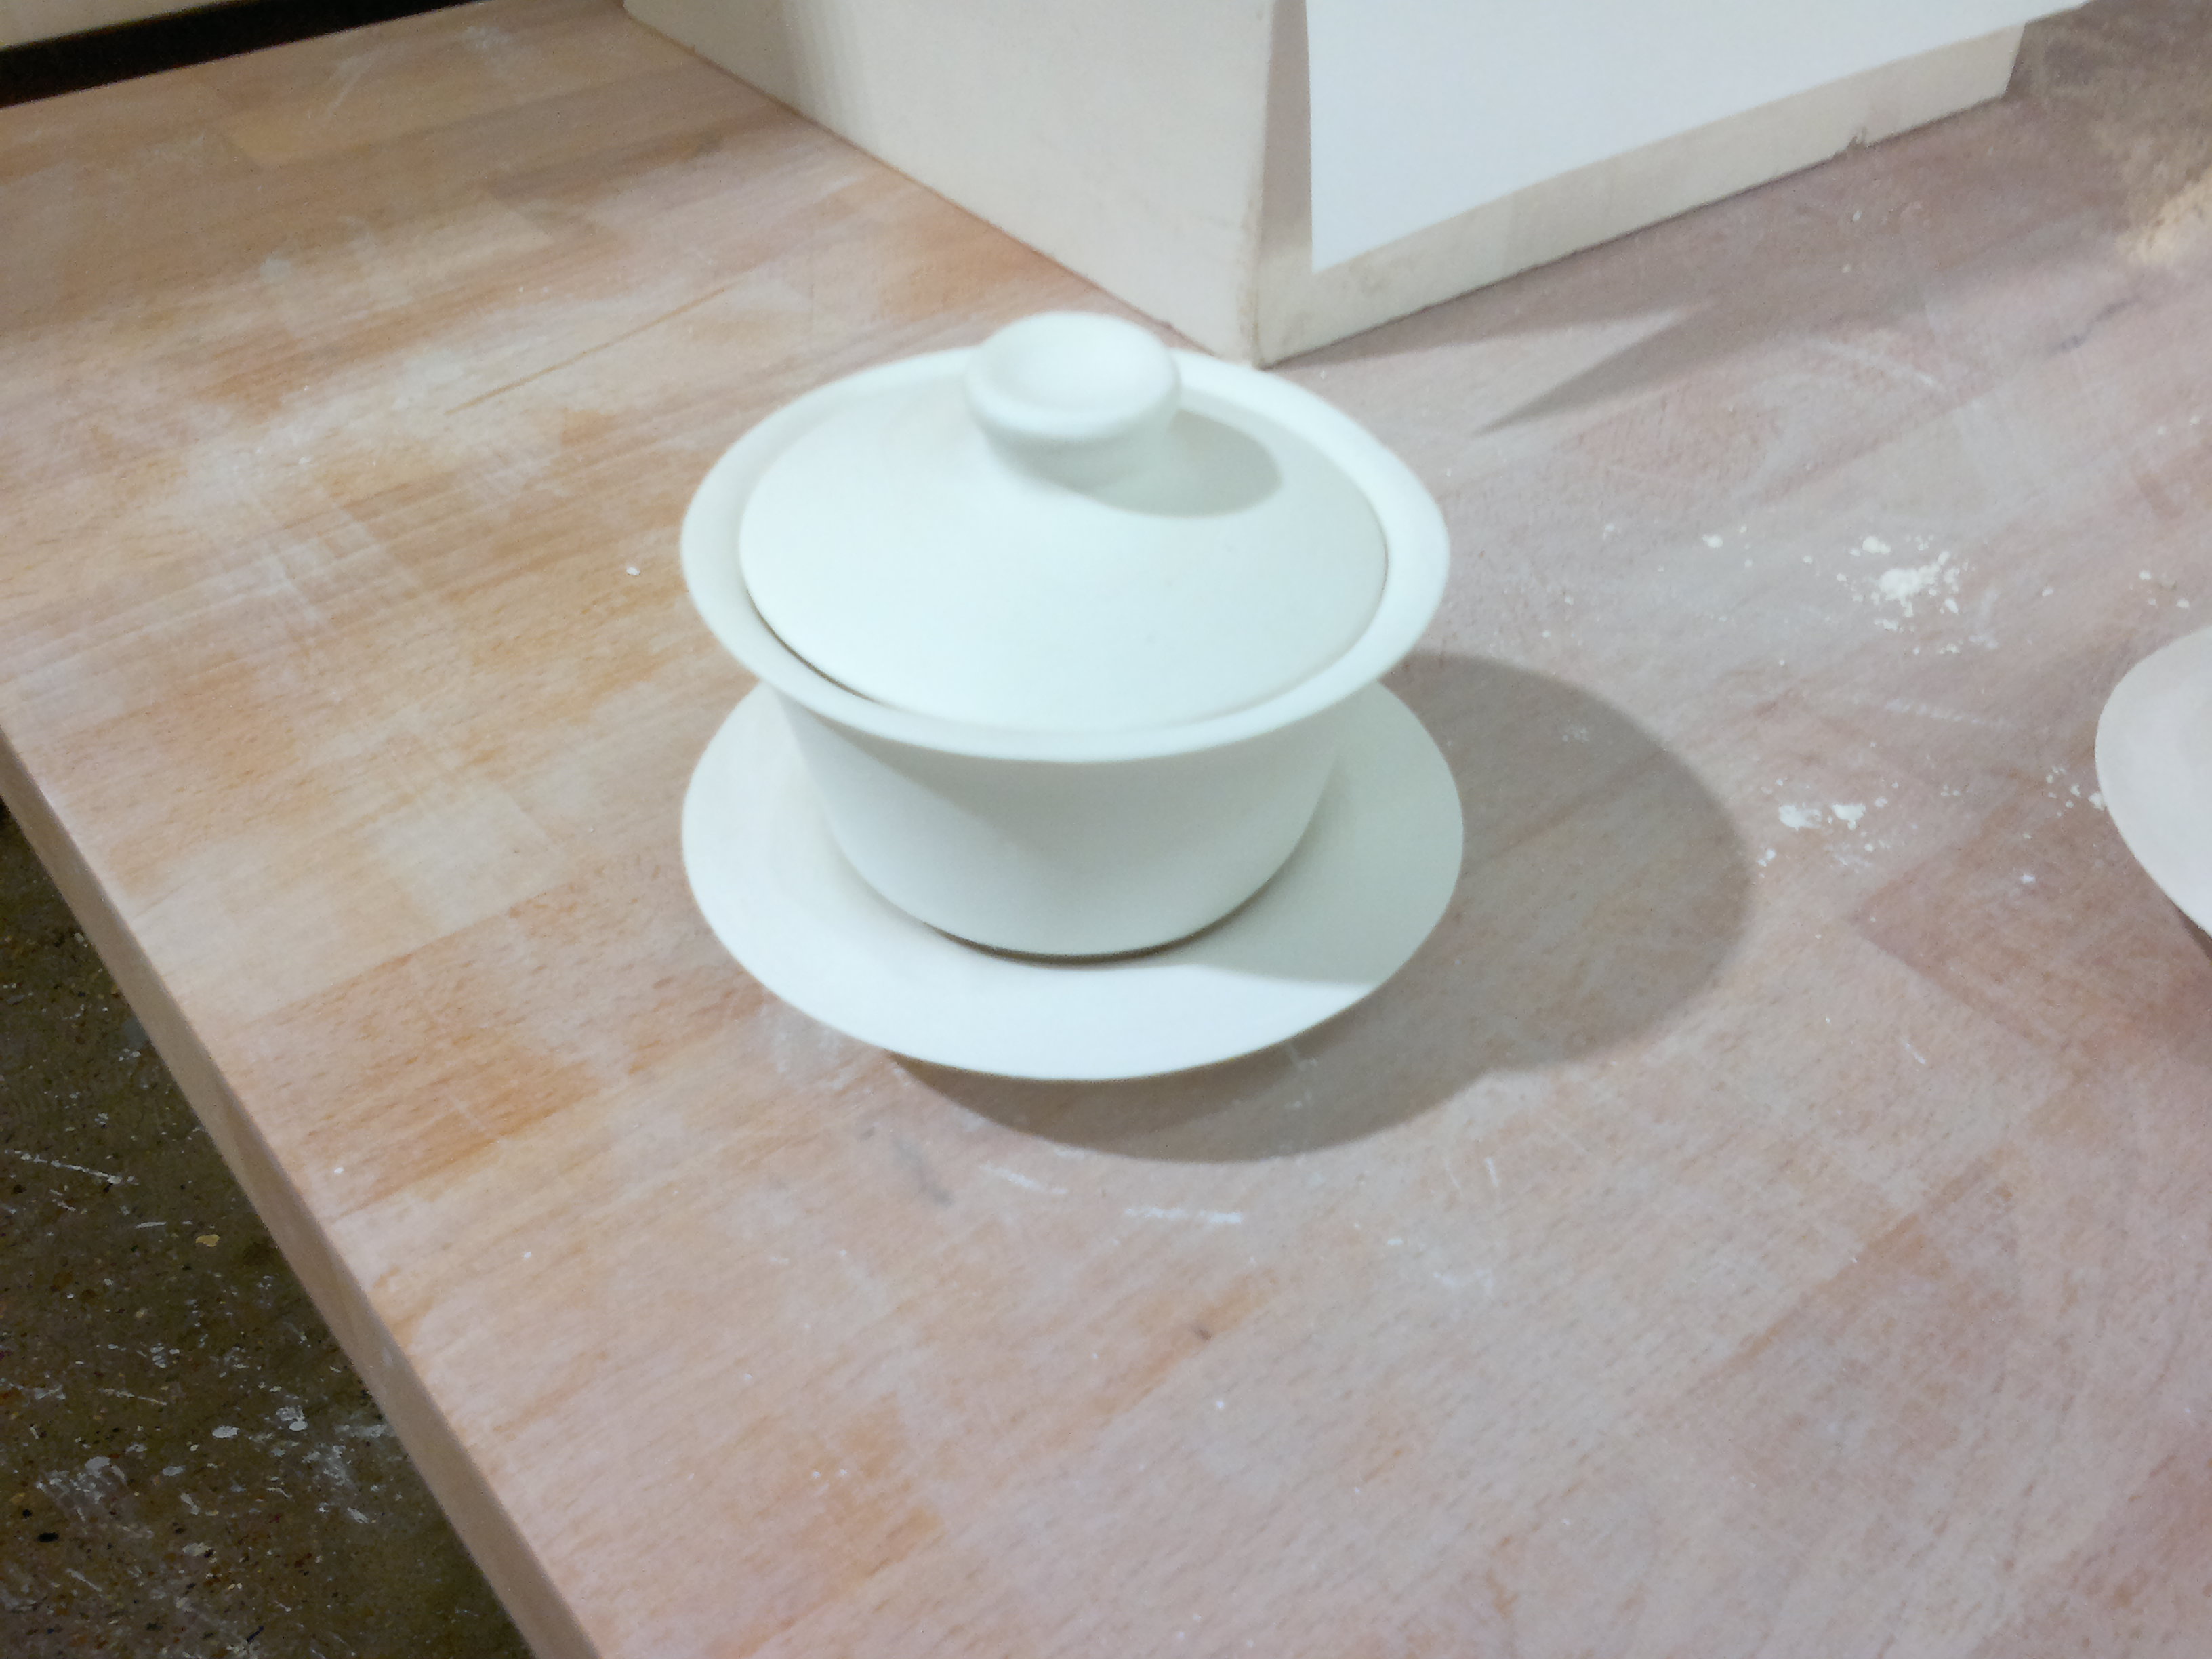
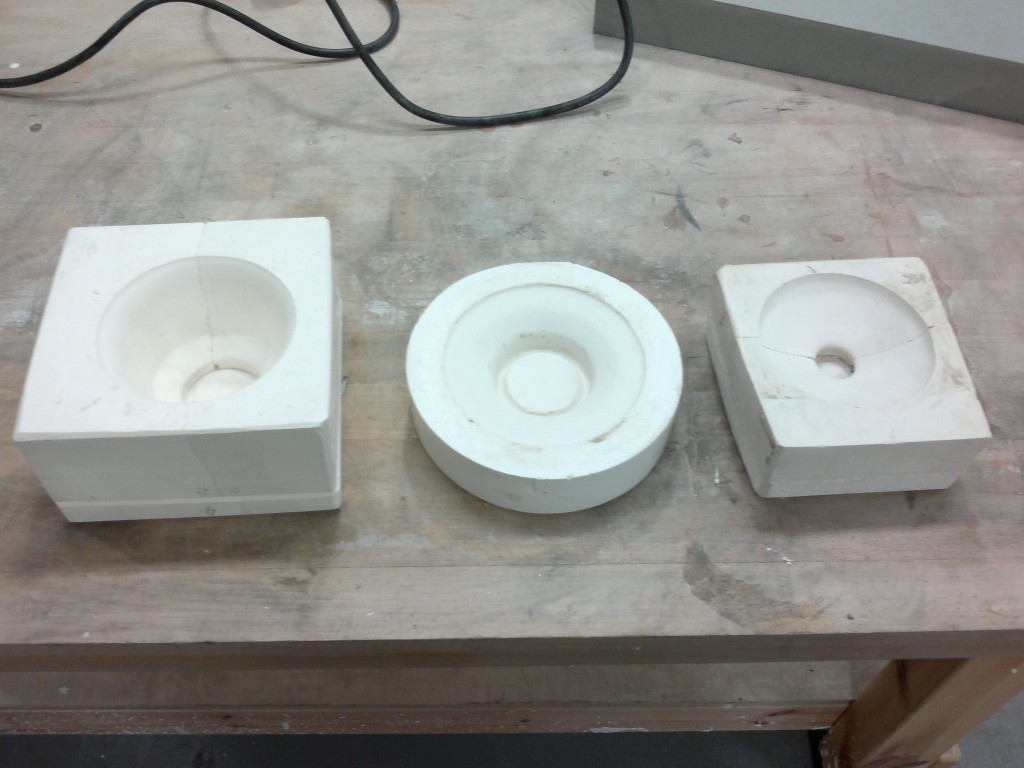
Creating the plaster moulds was as messy and tedious as pottery gets, but when I finished them I had a blissful moment of relief that I would not have to clean up plaster dust and splotches for as long as I want. Now, the problem was how to get this:

From this:
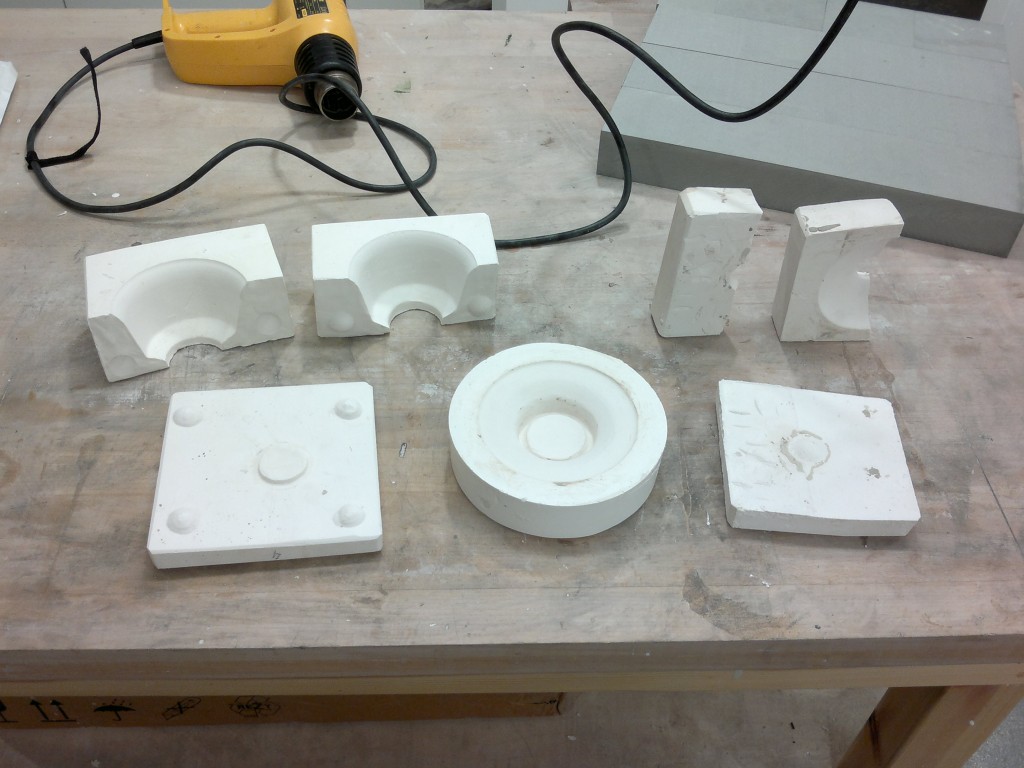
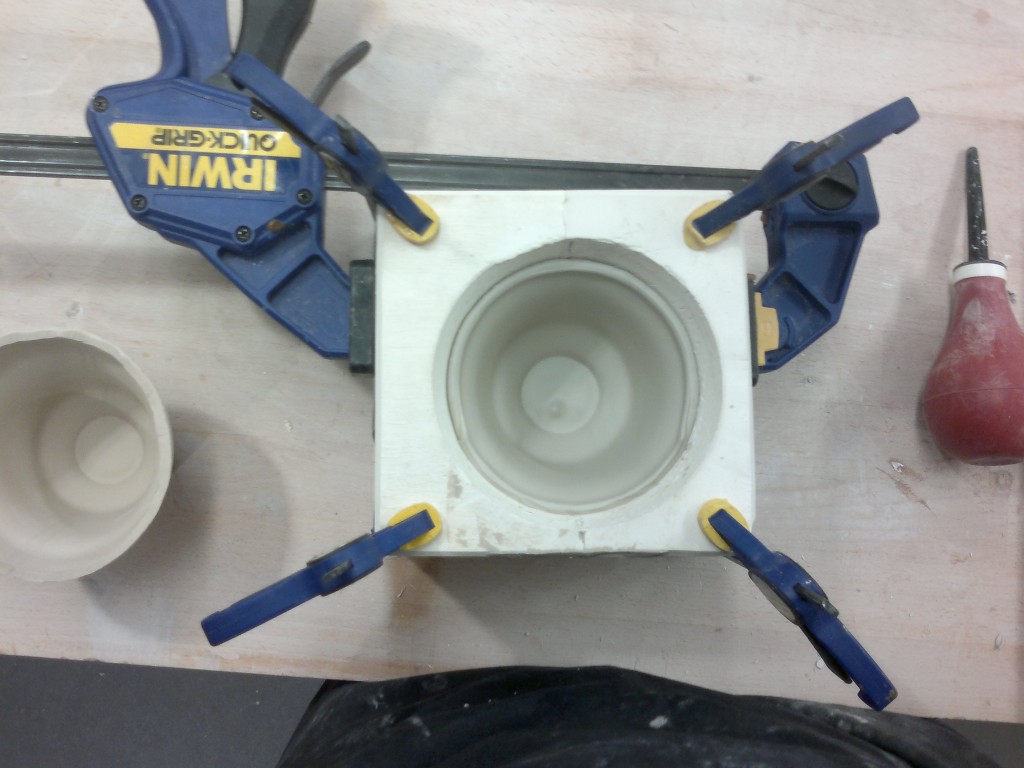
Slip-casting is an interesting process. It starts with the mould being assembled.
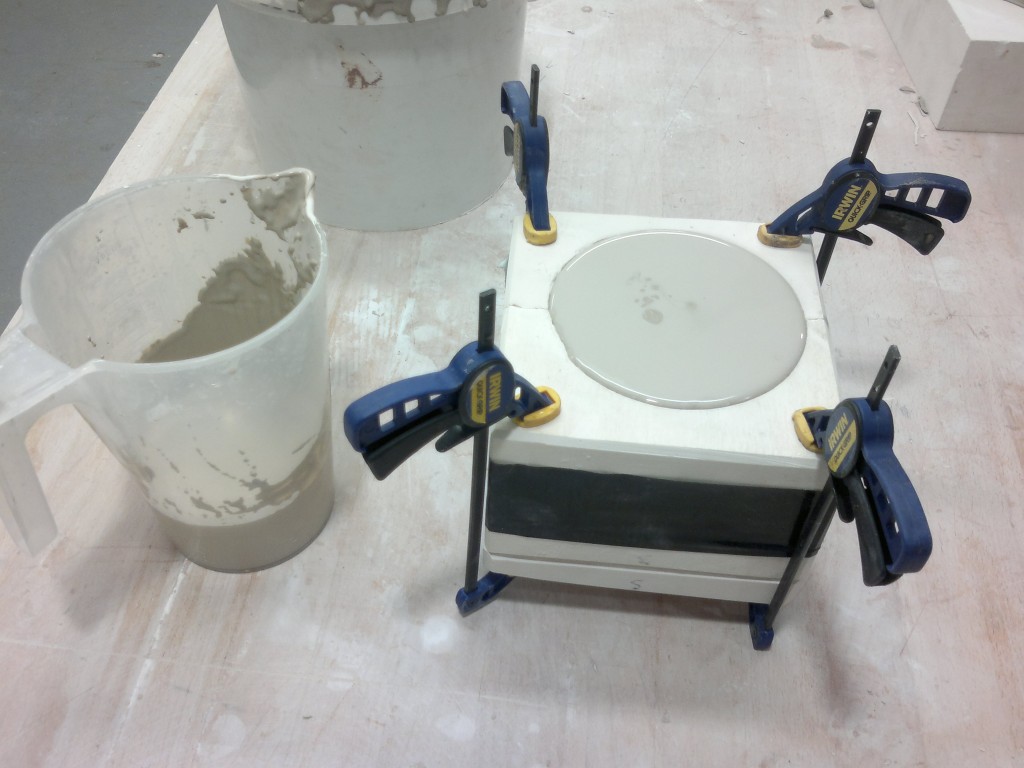
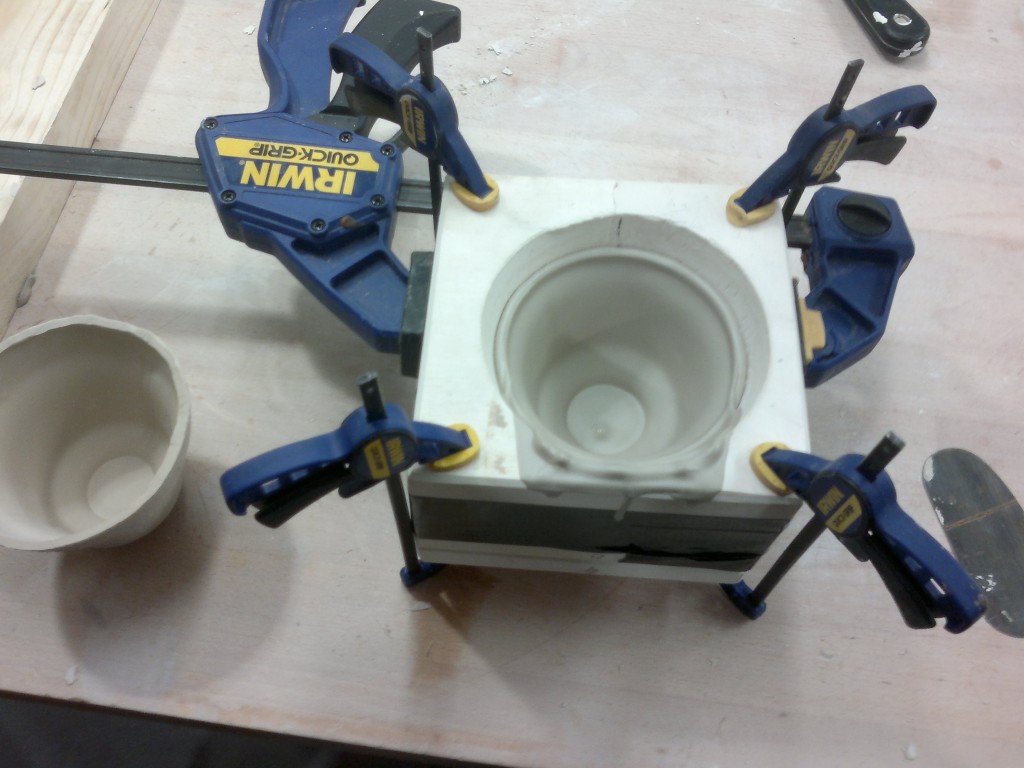
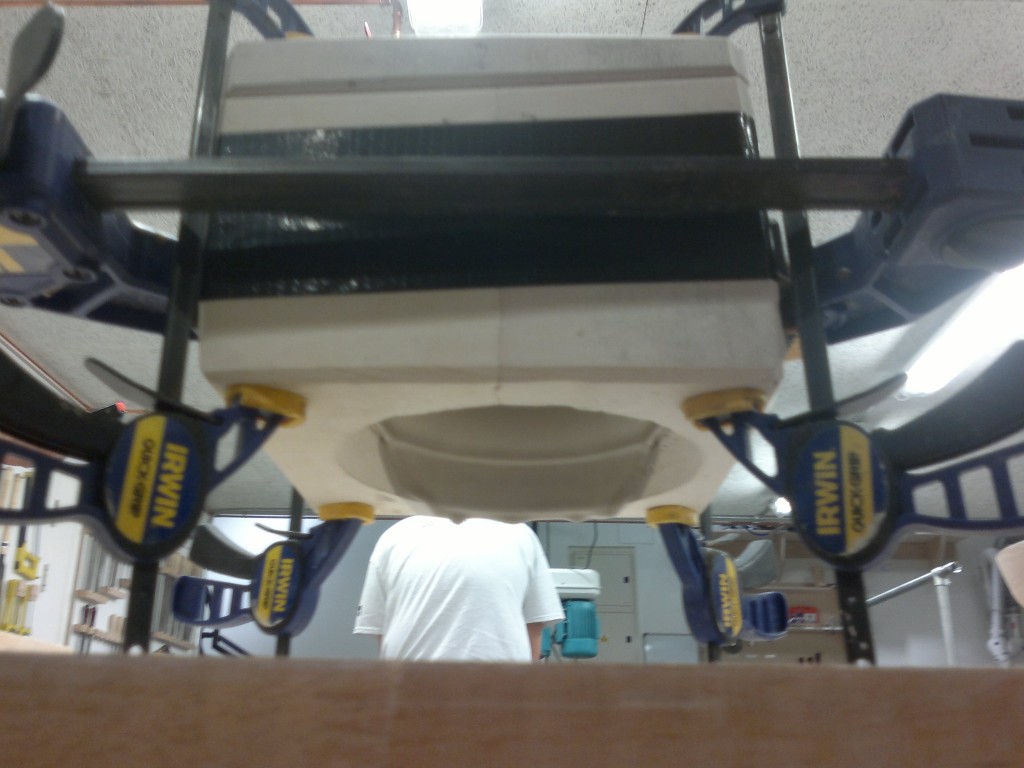
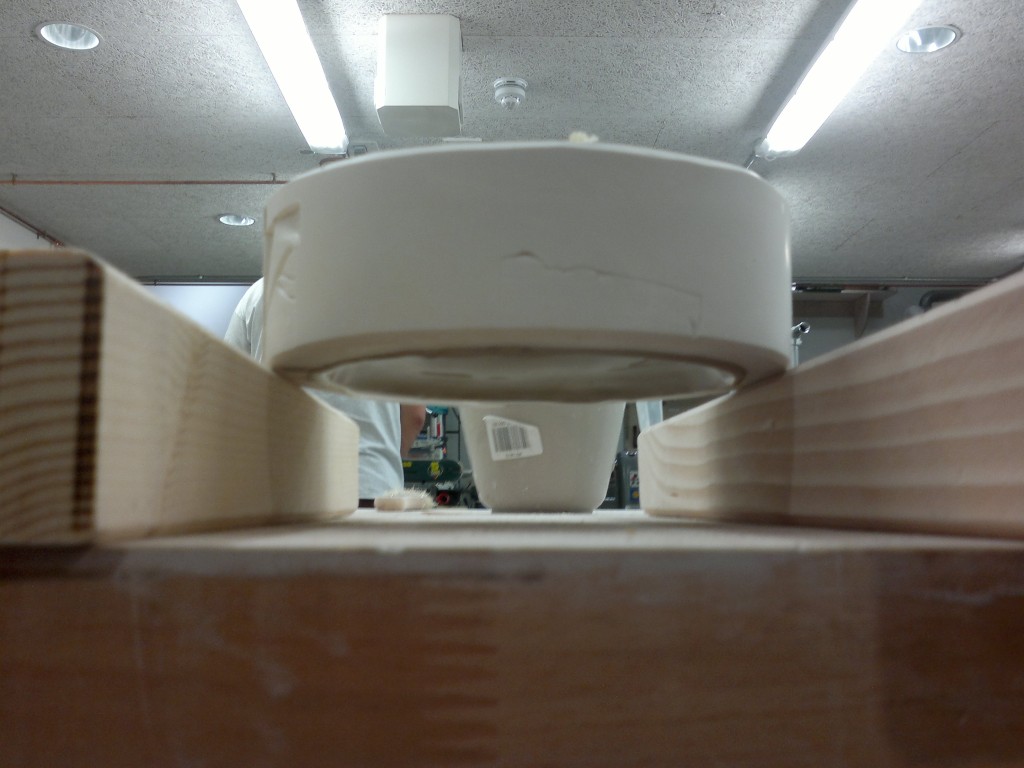
Then, one has to clamp the multipart mould together (later I learnt that one larger clamp does a much better job than carpet tape at keeping the two halves pressed against each other).
Now comes the fun part. Slip is clay suspended in water, with ideally as little water present as possible. A deflocculant (wikipedia says sodium silicate is often used) is needed to keep the suspension liquid even with low water content. This allows the slip to fill the mould completely when it’s poured. Its consistency is a lot like chocolate milk, though it varies with time since mixing.
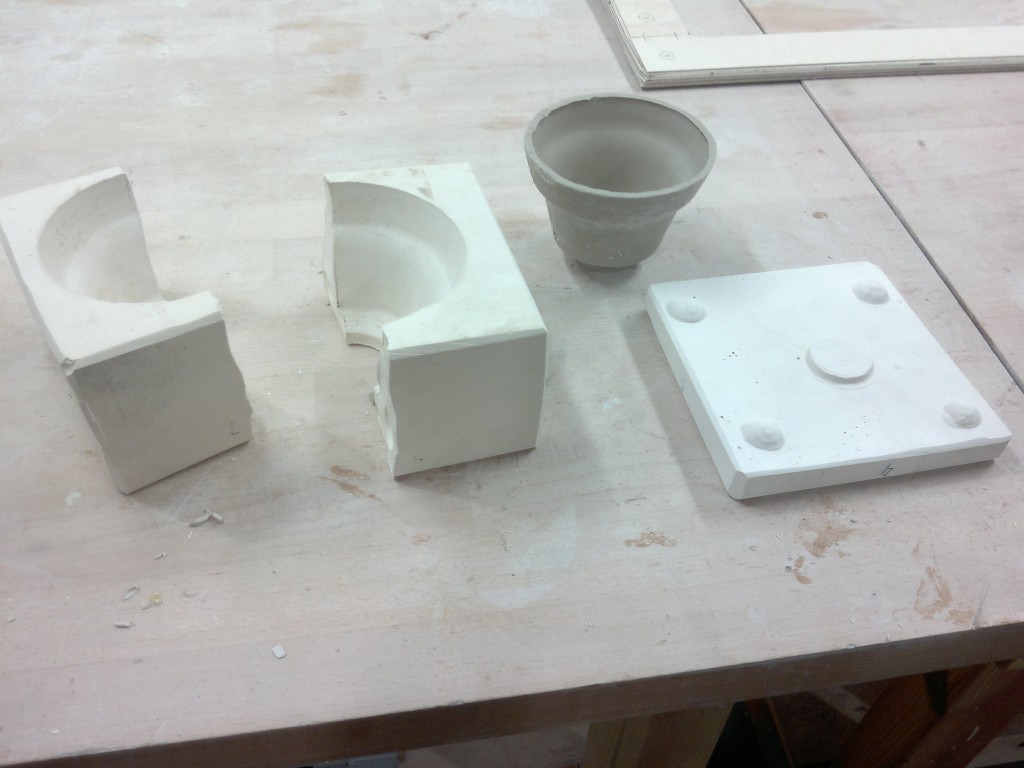
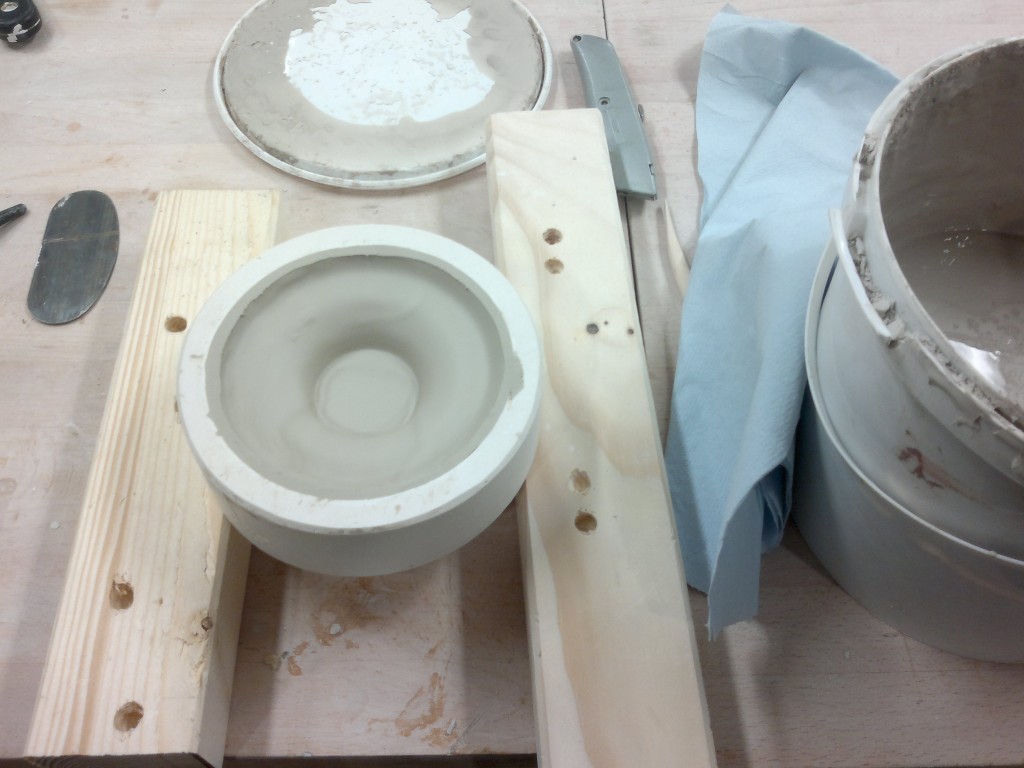
After filling the mould, the slip is left to rest for 5-15 minutes, depending on the desired thickness. The plaster in the mould sucks out the moisture from the adjacent slip, creating a layer of soft clay attached to it. The remaining slip is then poured back out for reuse.
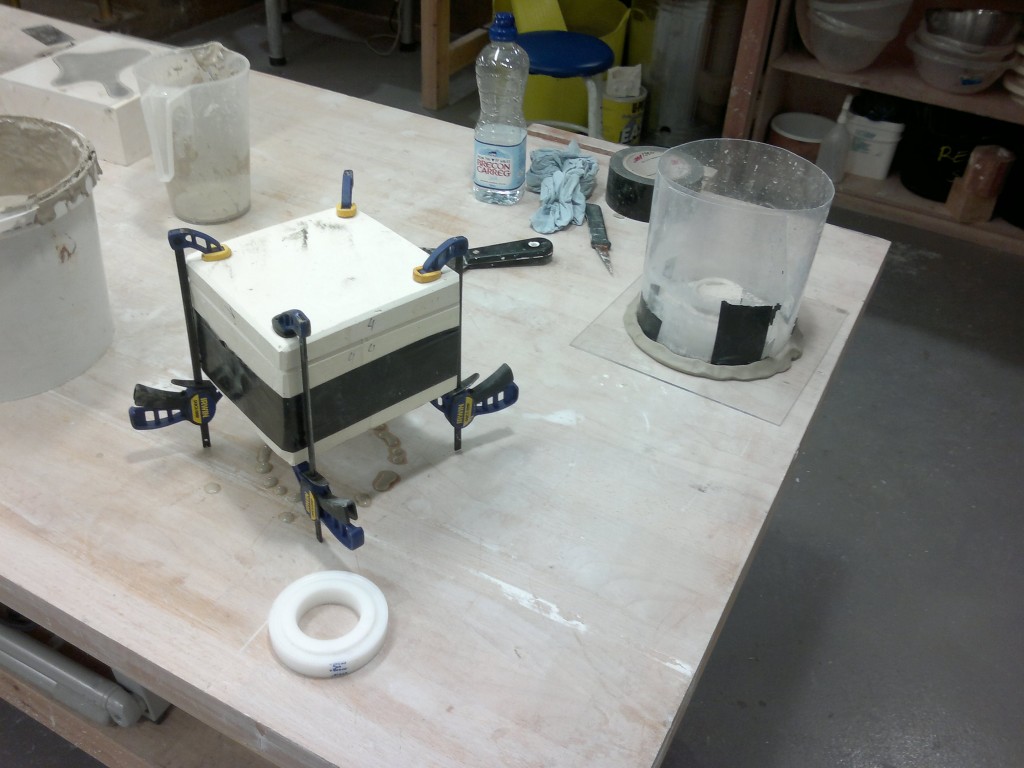
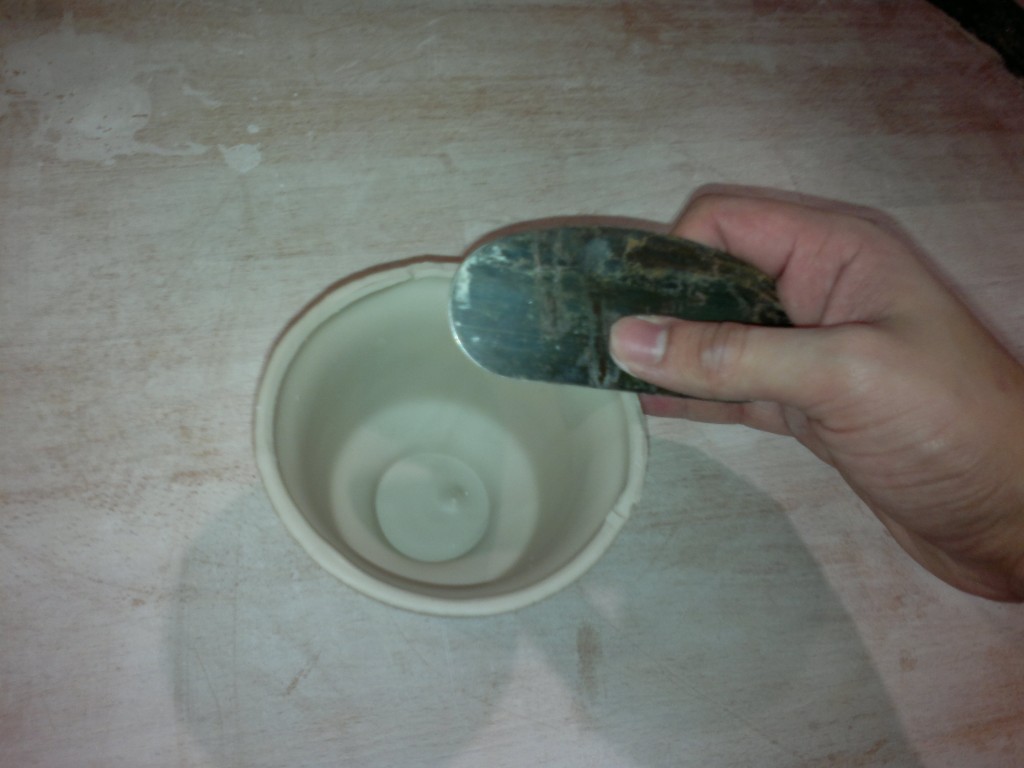
After cleaning up the rim, one can see how smooth the internal surface is.
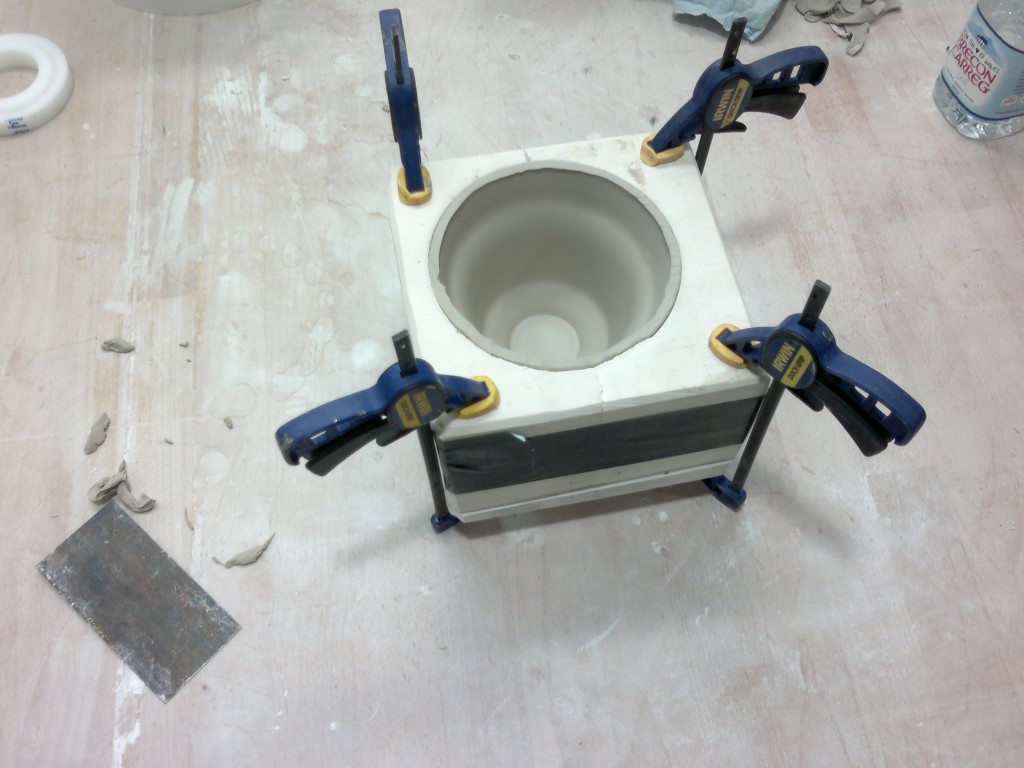
As for the outside, that depends on the quality of the mould, which in my case was slightly damaged when removing the bits of the model that had stuck to it. This is the resulting bowl – a first cast always cleans the mould, so there are pieces of plaster sticking to it.
I discovered that it is more difficult to either remove the upper extra part from the bowl once it’s finished or casting it only up to a certain level than just changing the mould itself. So I did it ručne-stručne.
This allows me to pour the slip up to the very top and clean the rim using only a metal square.
Otherwise, there would be a fair bit of hand-eye coordination involved, like when I tried to pour the clay only up to an ill defned mark and clean it up afterwards. Notice the big clamp being used.
This is then cleaned up using a metal kidney or square.
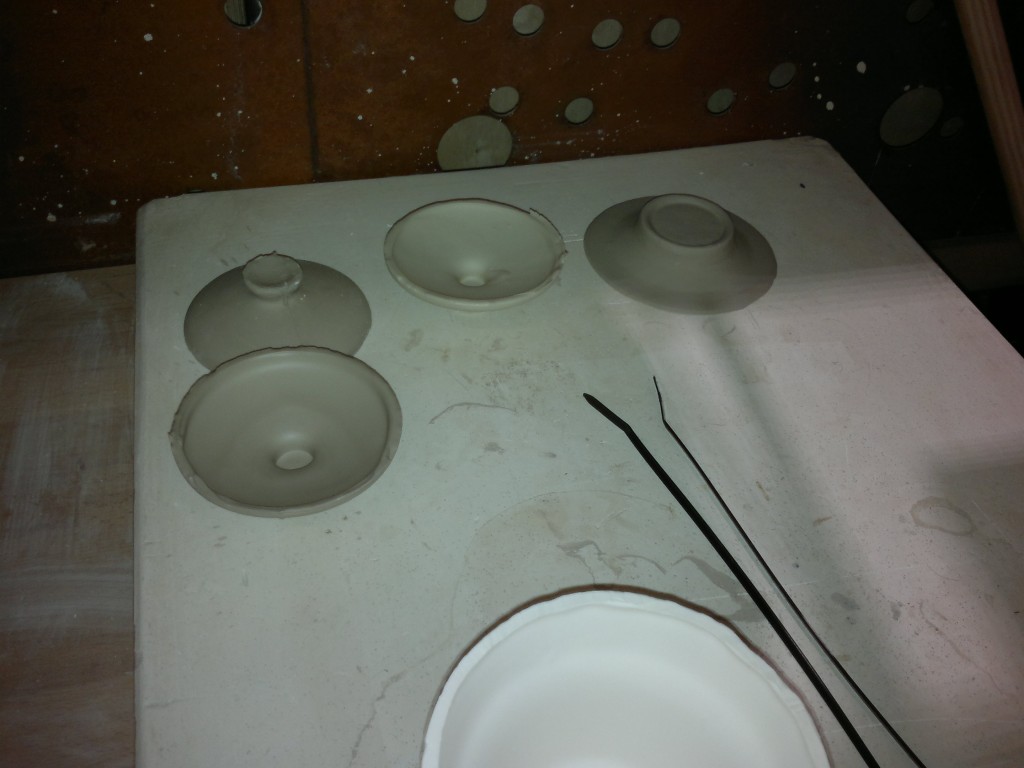
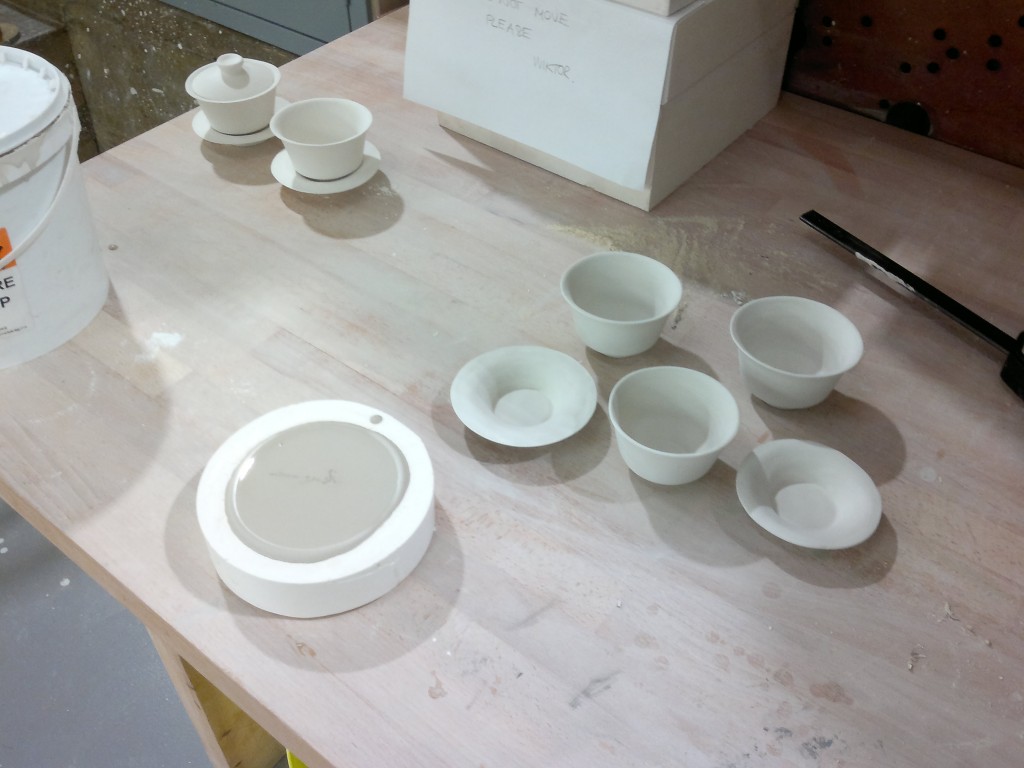
The lid is cast very similarly in that it has a three-piece mould. You will also notice the two different colours – it was about this time that I started to experiment with porcelain, though it is much harder to work with it as greenware (dried but unfired). These are some fresh casts.
The saucer was done a bit differently, though based on the same principle. There was much more guesswork involved, mainly due to the fact that the rim refused to behave and had to be smoothed by hand, pushing it into the walls of the mould. This, in turn, made it harder for the saucer to pop out like it should, so I had to use a hot air gun.
It was similarly let to drain after the excess was poured out, but you can see the irregularities.
After tinkering with the moulds a bit, however, it went really well:
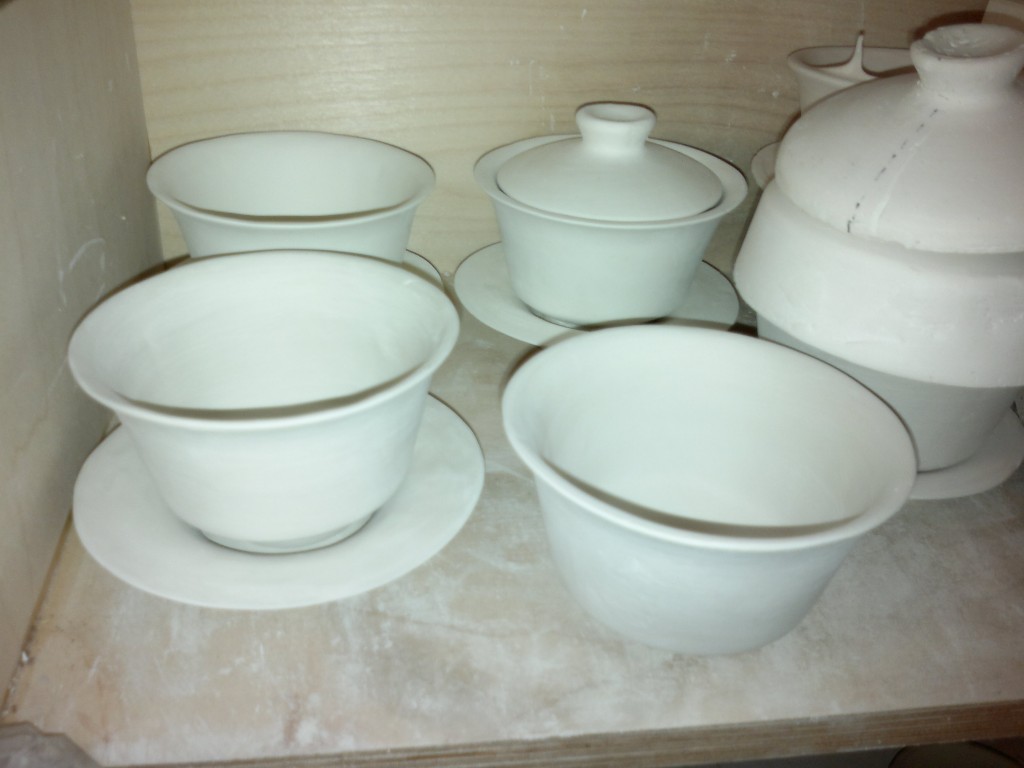
So, finally, I began casting the parts en masse, mainly due to my clumsiness that made me drop, crush, or sand too much a part when sanding or smoothing it with the kidney or a sponge. I now have a small space in the Institute of Making pottery cupboard, where I keep the prototypes, failures, and the occasional Frankenstein monster in the back.
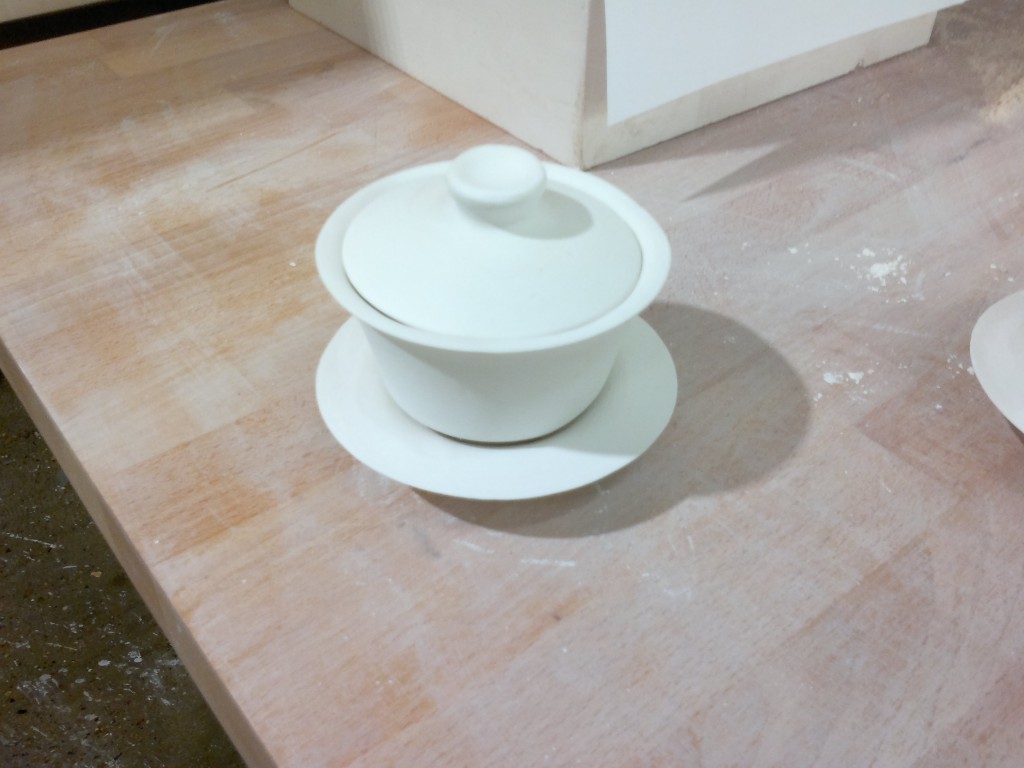
Still, the real fruits of the labour were just looking at one finished, though as of yet unfired, porcelain Gaiwan set.
Firing and glazing, next time. And my joy was undisturbed by the fact that porcelain shrinks by a sixth when fired, leaving me with a rather tiny bowl from a large mould when I want to cast it in porcelain and avoid glazing altogether.
