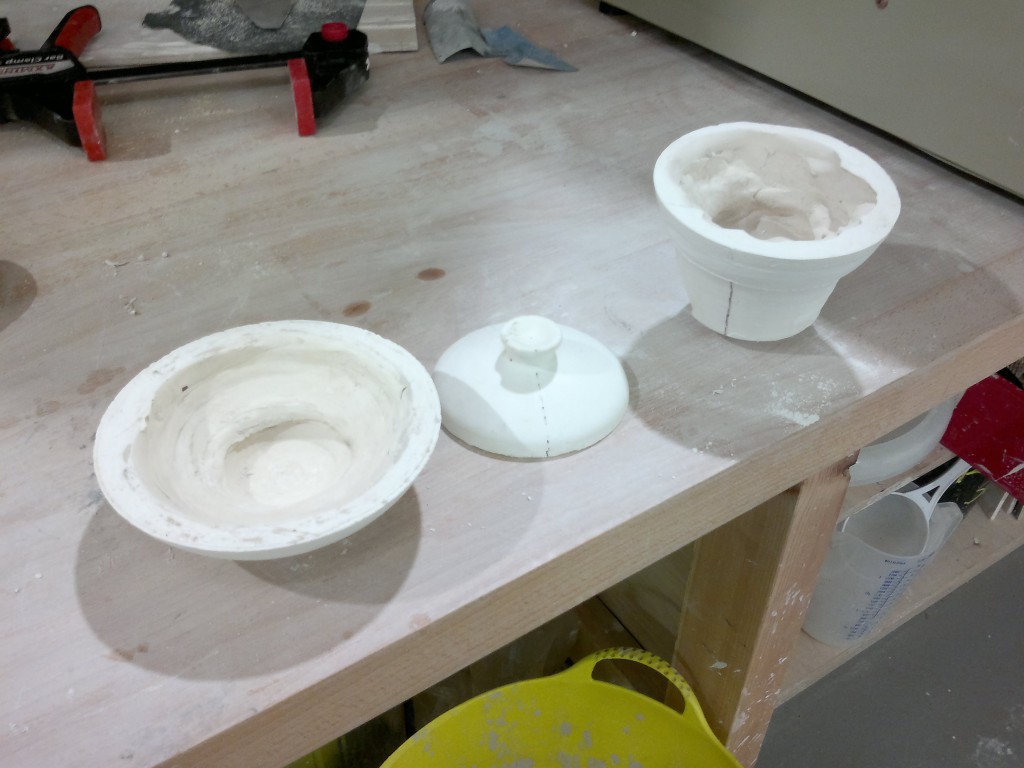
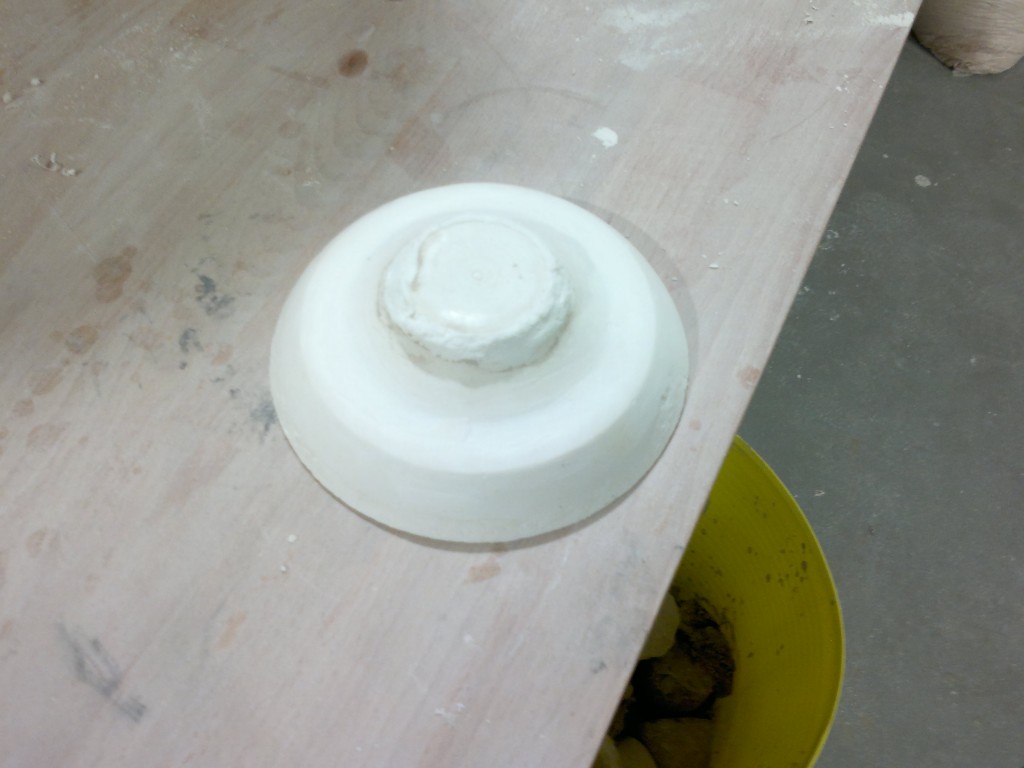
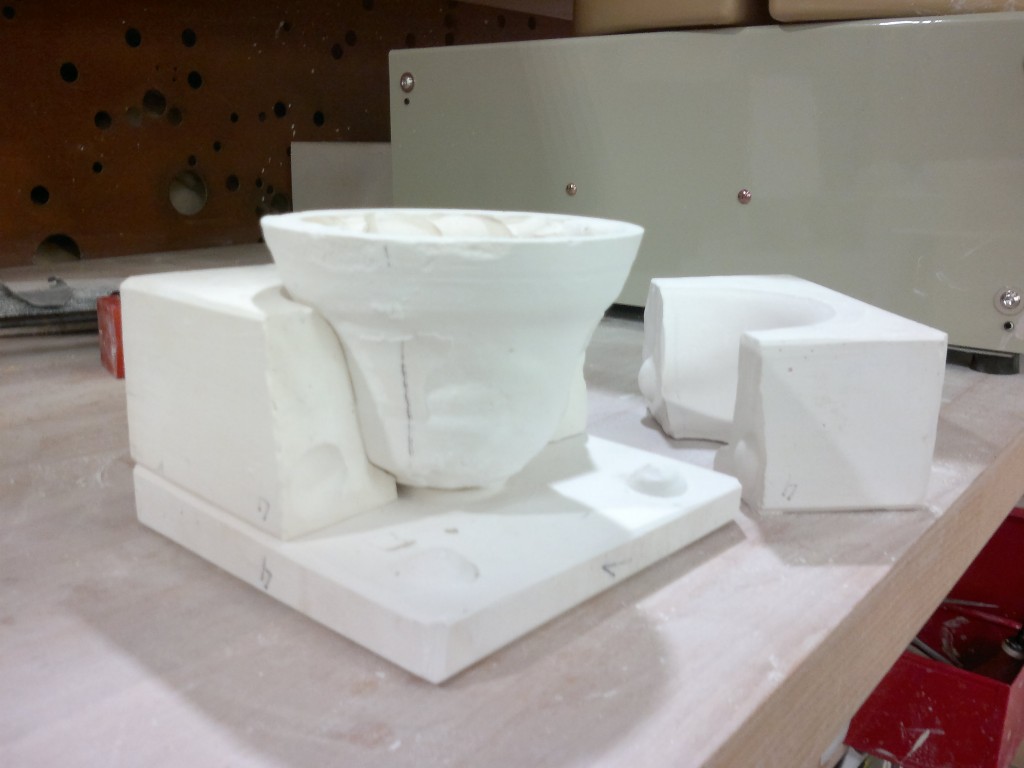
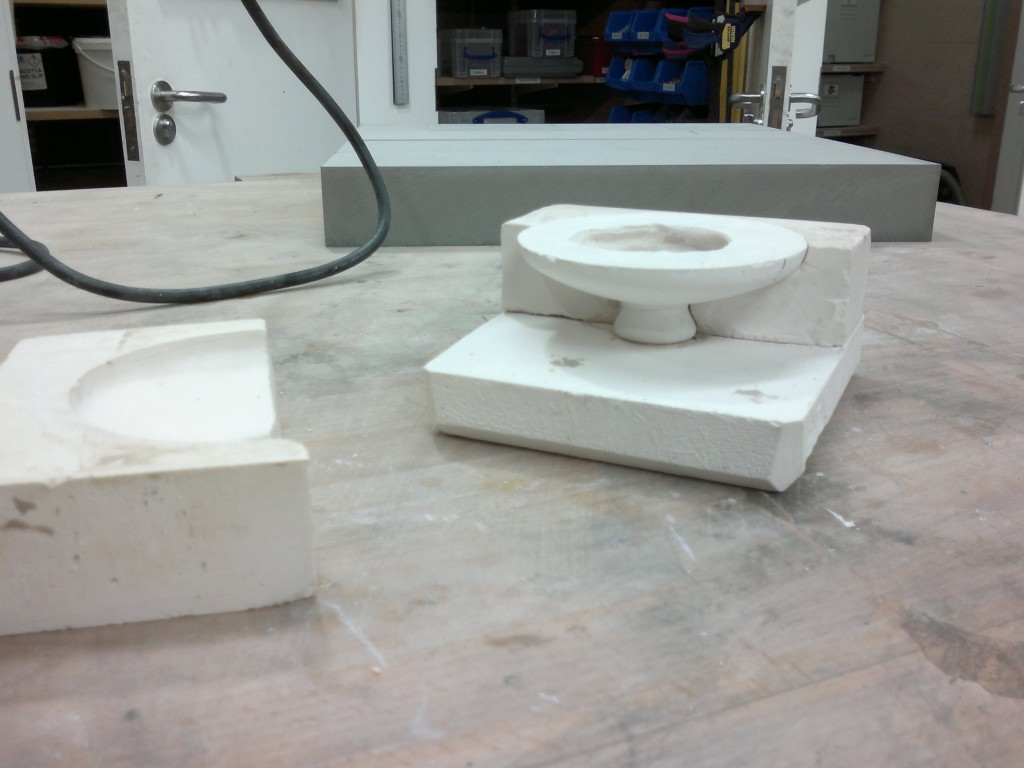
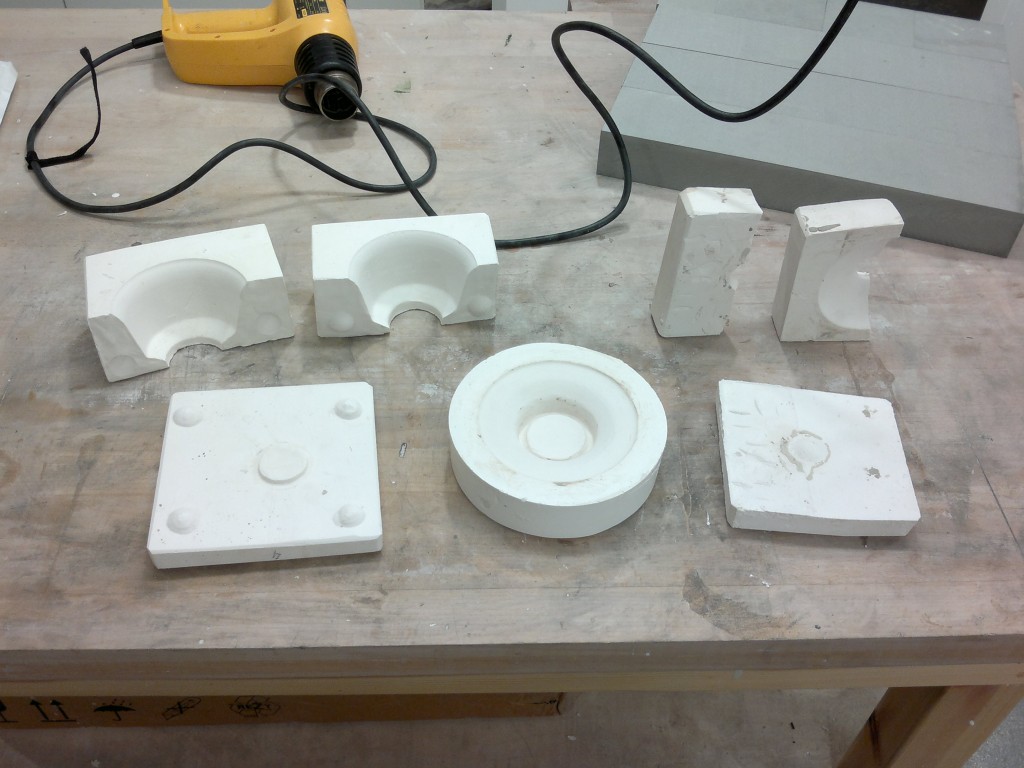
I now have these: plaster models of each of the three gaiwan parts, spun using the acrylic cutouts and finished with a chisel. I am going to make plaster moulds out of them so that I can later create as many gaiwans as I want.
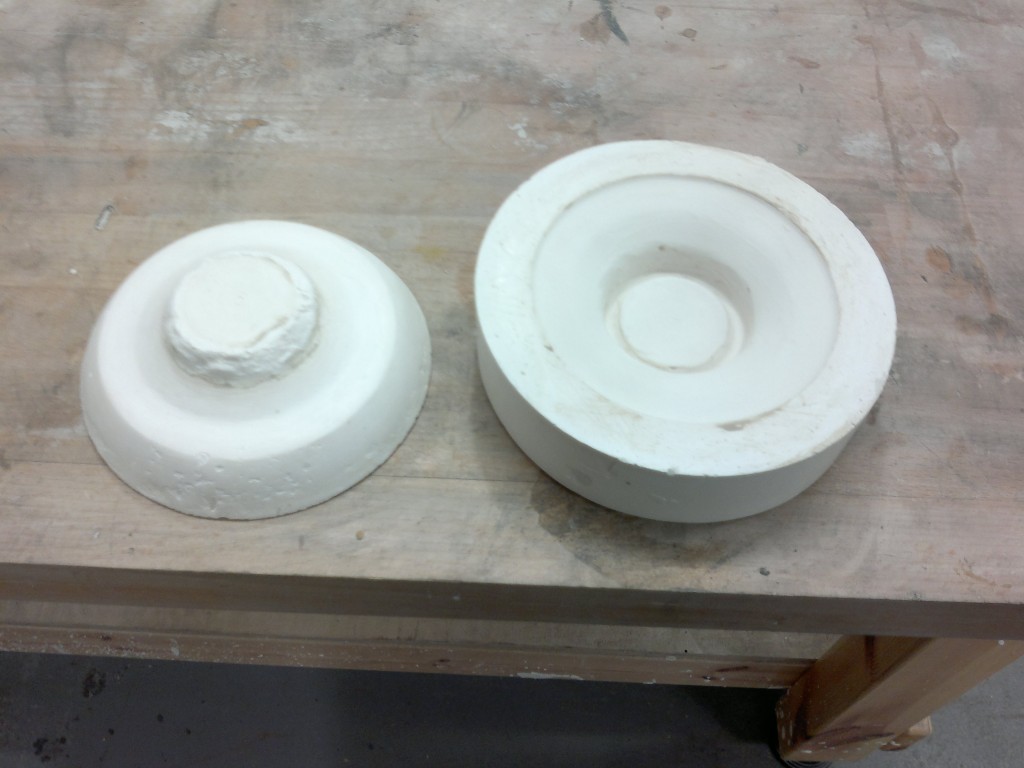
These photos were taken after the mould-making process, which partly destroyed the positives, but it helps you understand how the parts look.
Like most crockery, the gaiwan bowl has a base that is formed by a rim with an indentation in the middle. At the same time, it is too big and too complicated to be made in a one-piece pop-out mould, but the indentation makes a two-piece mould impractical if not useless. Therefore, a three piece mould has been used. Similarly, one can see that the lid will not pop out of anything, and having a similar indentation makes three-piece a necessity. The saucer, however, can be pretty easily cast in a one-piece mould, the process of which follows.
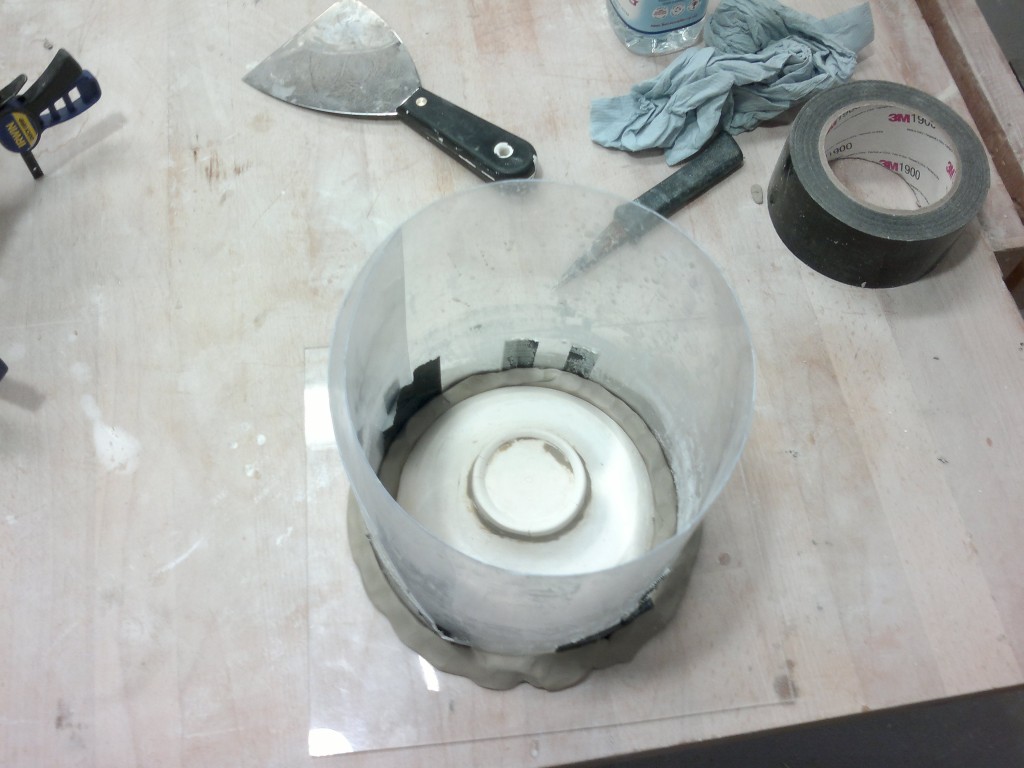
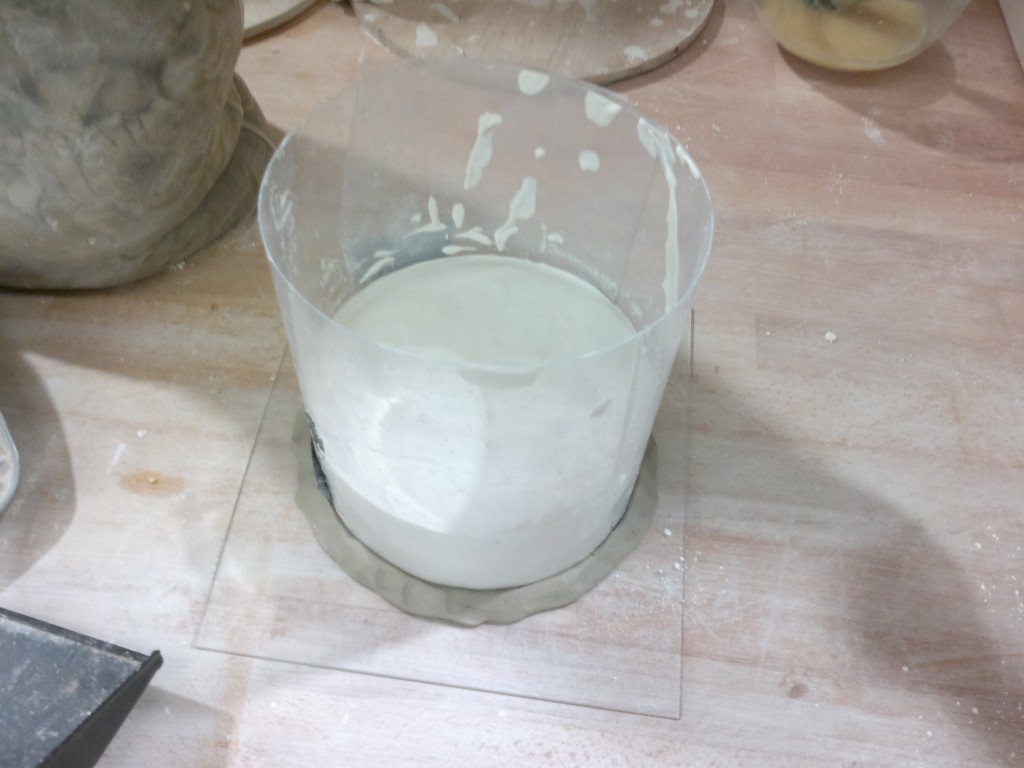
First, I embedded it in clay, so that it can be easily taken out of the finished mould. Notice the rim on the bottom, which kept falling off and needed to be glued on and smoothed out with clay. You might have noticed that the models are unusually shiny for plaster – this is because they have been treated with soft soap (apparently a type of mouldmakers soap made with fish oil) so as not to stick to the cast plaster mould.
Then, plaster is poured over the part.
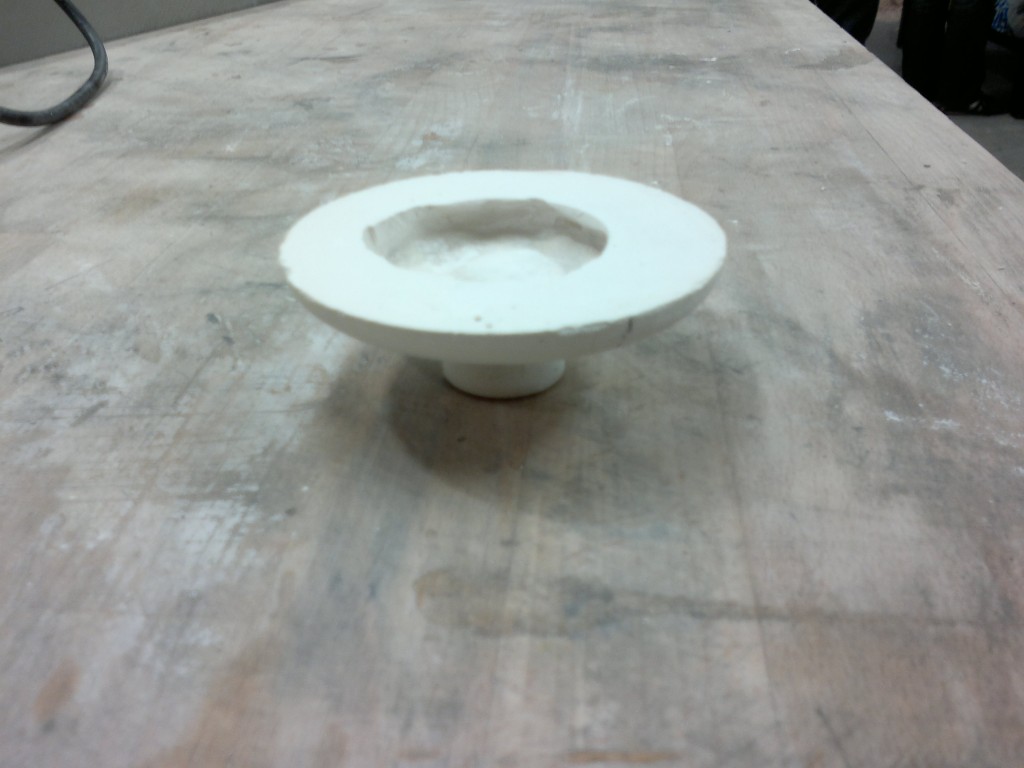
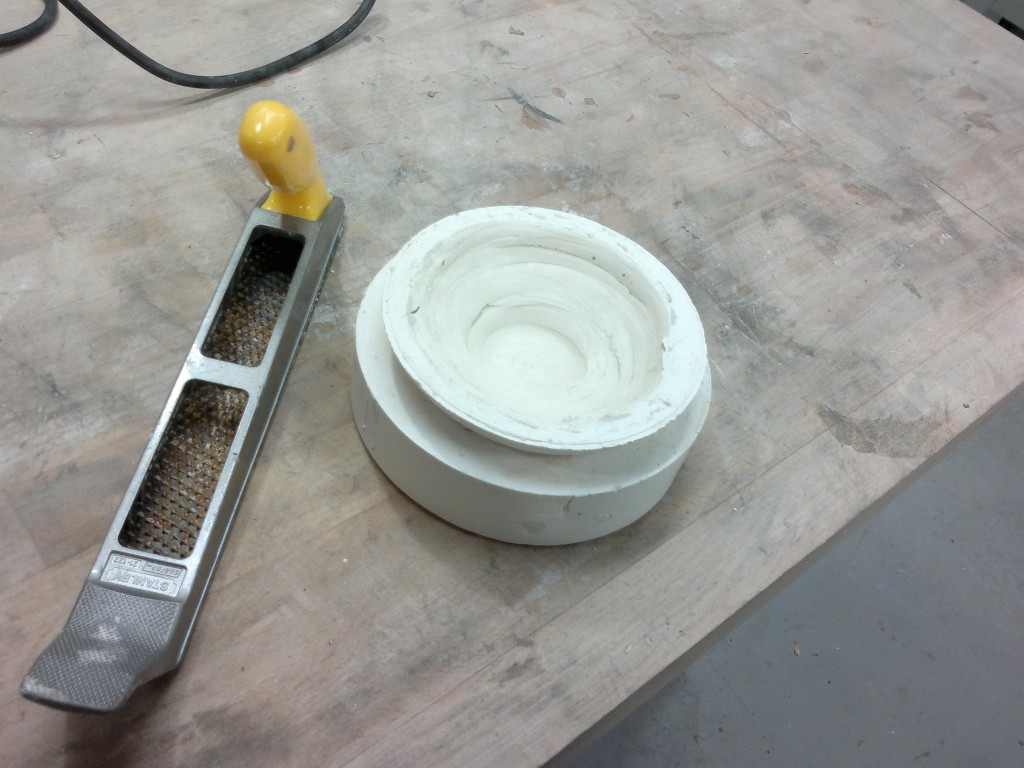
The resulting mould had an uneven surface where it touched the clay ribbon, but this was smoothed out using a file after the model was taken out.
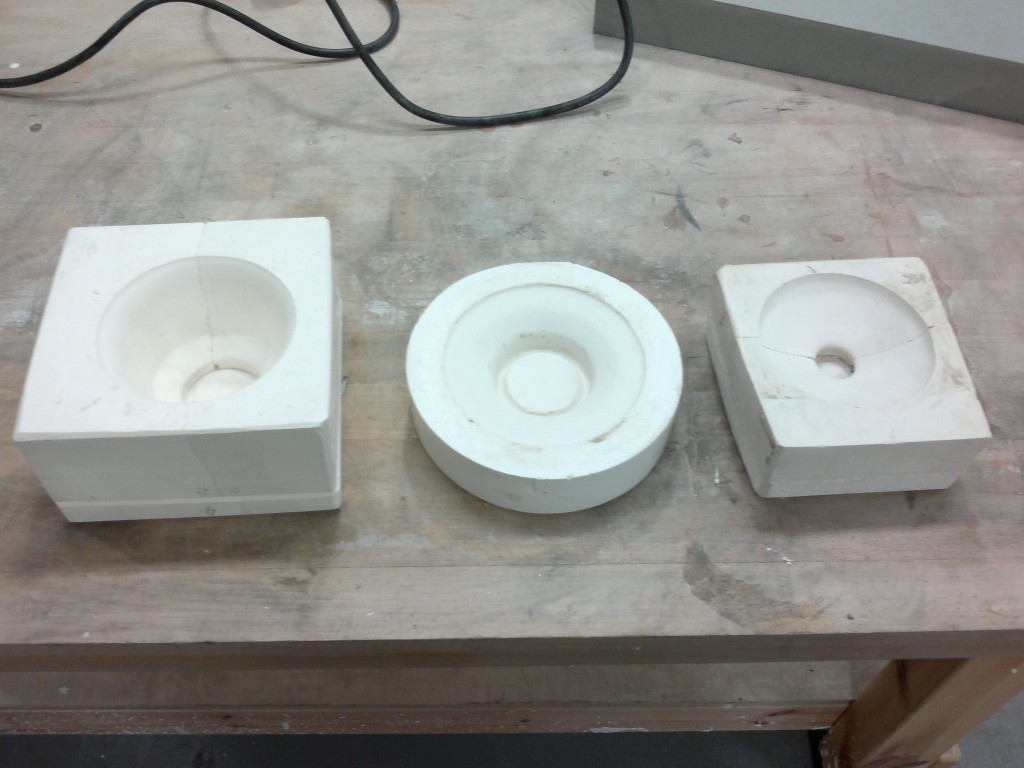
The mouldmaking process, unfortunately, destroyed the bottom part of the saucer positive where the rim was, so no more moulds could be made from it. The mould as it appeared after these model bits were removed can be seen on the right.
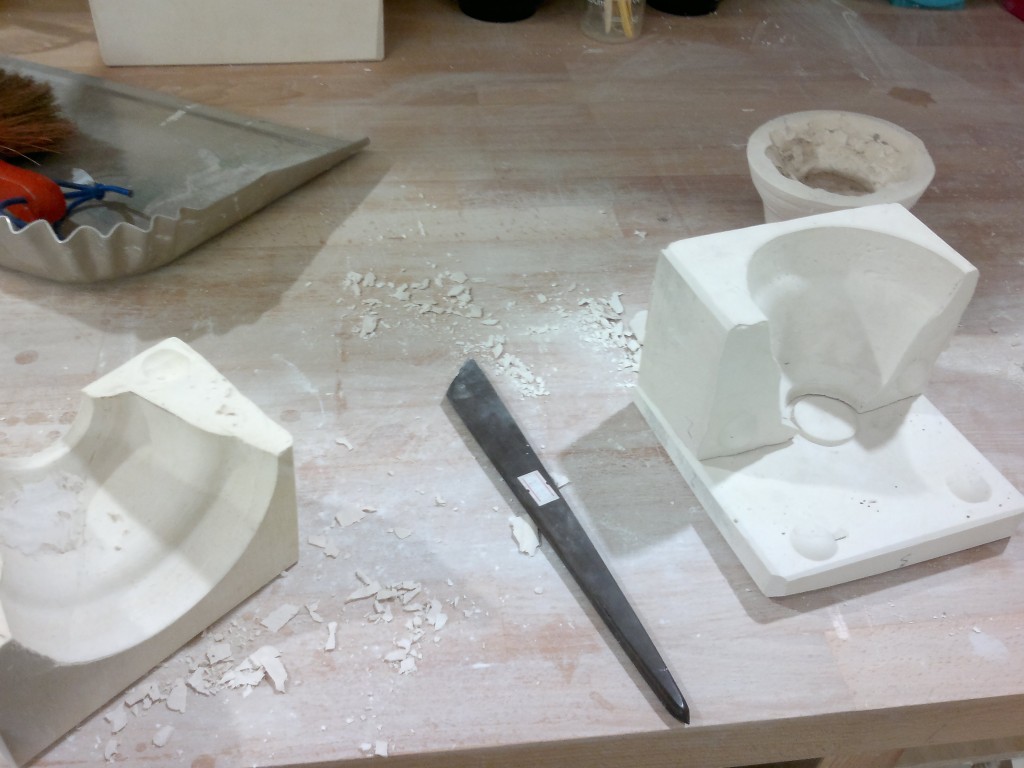
It was comparatively harder to create the three-piece moulds, so much so that I had little time to take pictures. The process involved embedding the model in clay up to a line (drawn in sharpie as seen above) and pouring plaster over it in a wood/acrylic enclosure. Then, the model and part of mould were turned around, soft-soaped, and enclosed again before pouring the second part of the mould. The third part was poured over the bit with the indentation. This gives you something like this for the bowl (the second picture is after filing away a bit off the top):
Similarly, for the lid:
And the three moulds together, separated from the models and filed down:
Assembled:

